Power Mac G4 Cube tear-down (or build-up)
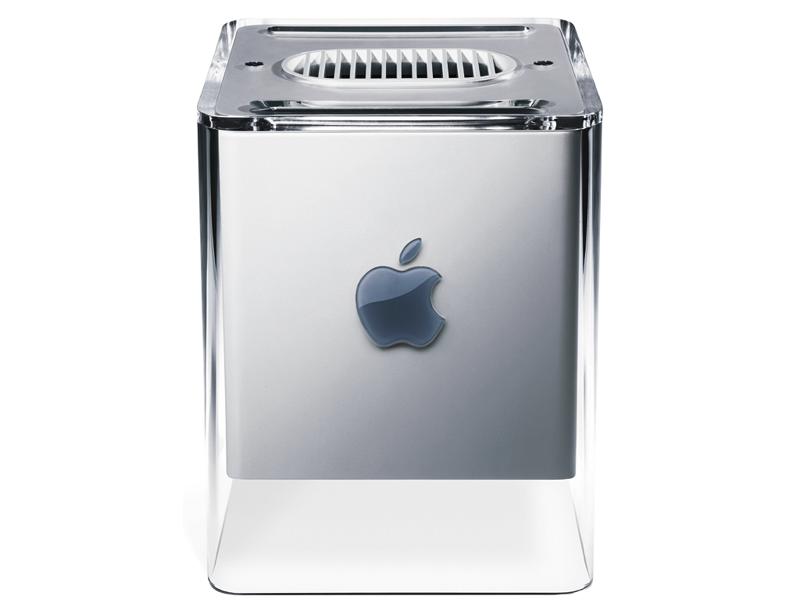
I was recently given one of the old (released 2000) Mac G4 Cube computers to play around with, if you’ve never heard of the Cube it’s probably because it didn’t do very well commercially, it was $1600 for one despite not having a huge amount going for it but the form factor.
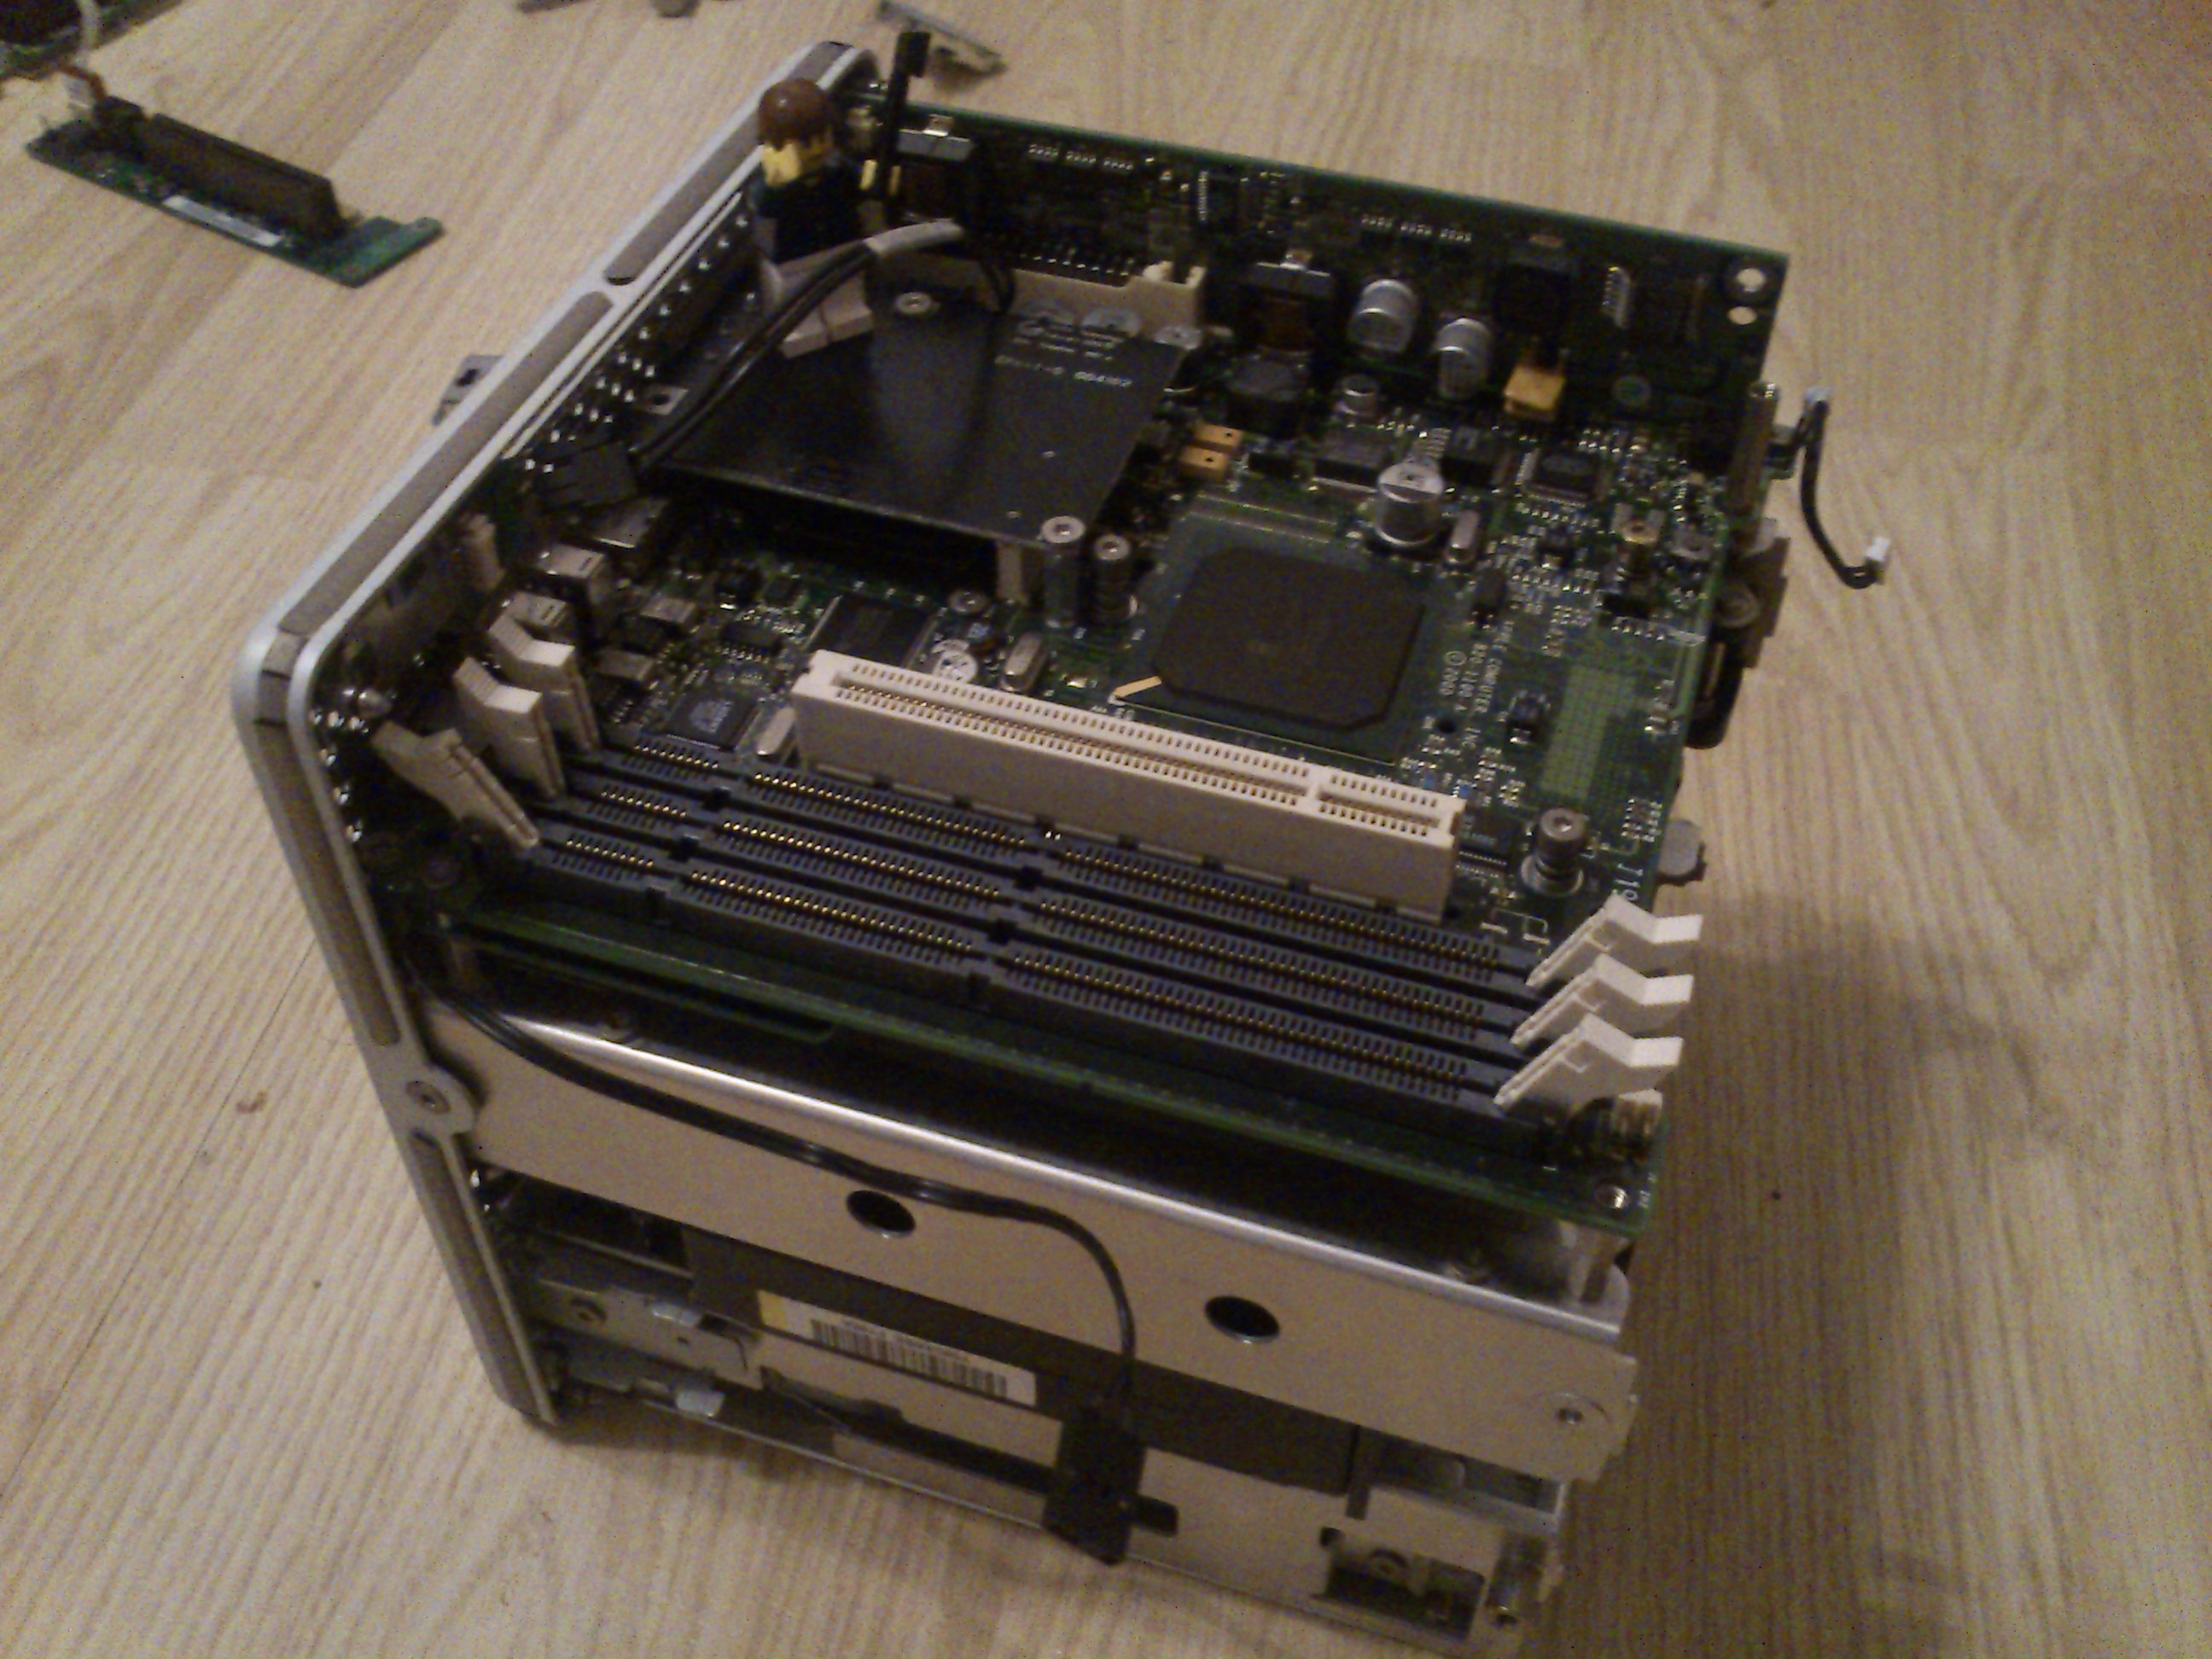
Due to the casing these have unsurprisingly been incredibly popular with the modding community as you get a nice frame to build a modern computer within, there’s just enough space for a mini ITX motherboard, a hard drive, RAM, laptop sized optical drive and a (very) small power supply if you’re lucky. The G4 Cube was a fanless computer and the G4 processor runs pretty hot so most of this space can be found with relative ease by removing the enormous heat sink which takes up almost 30% of the interior space and runs the entire way through the machine.
I didn’t actually think of taking pictures of this until I had already taken it to bits, so instead of showing the pictures in reverse I’m going to describe this as a build-up rather than a tear-down.
The first part is the CPU which is attached to the heat sink, I could have seperated these but I didn’t have any thermal paste handy so I thought I’d leave it attached.

The heat sink is huge, it runs the entire height of the cube and makes up a large part of the weight of the box. On each side of the heat sink are runners that the retractable handle slides into, this is one of the neatest features about the Cube and I’m rather regretting not taking any pictures of it.
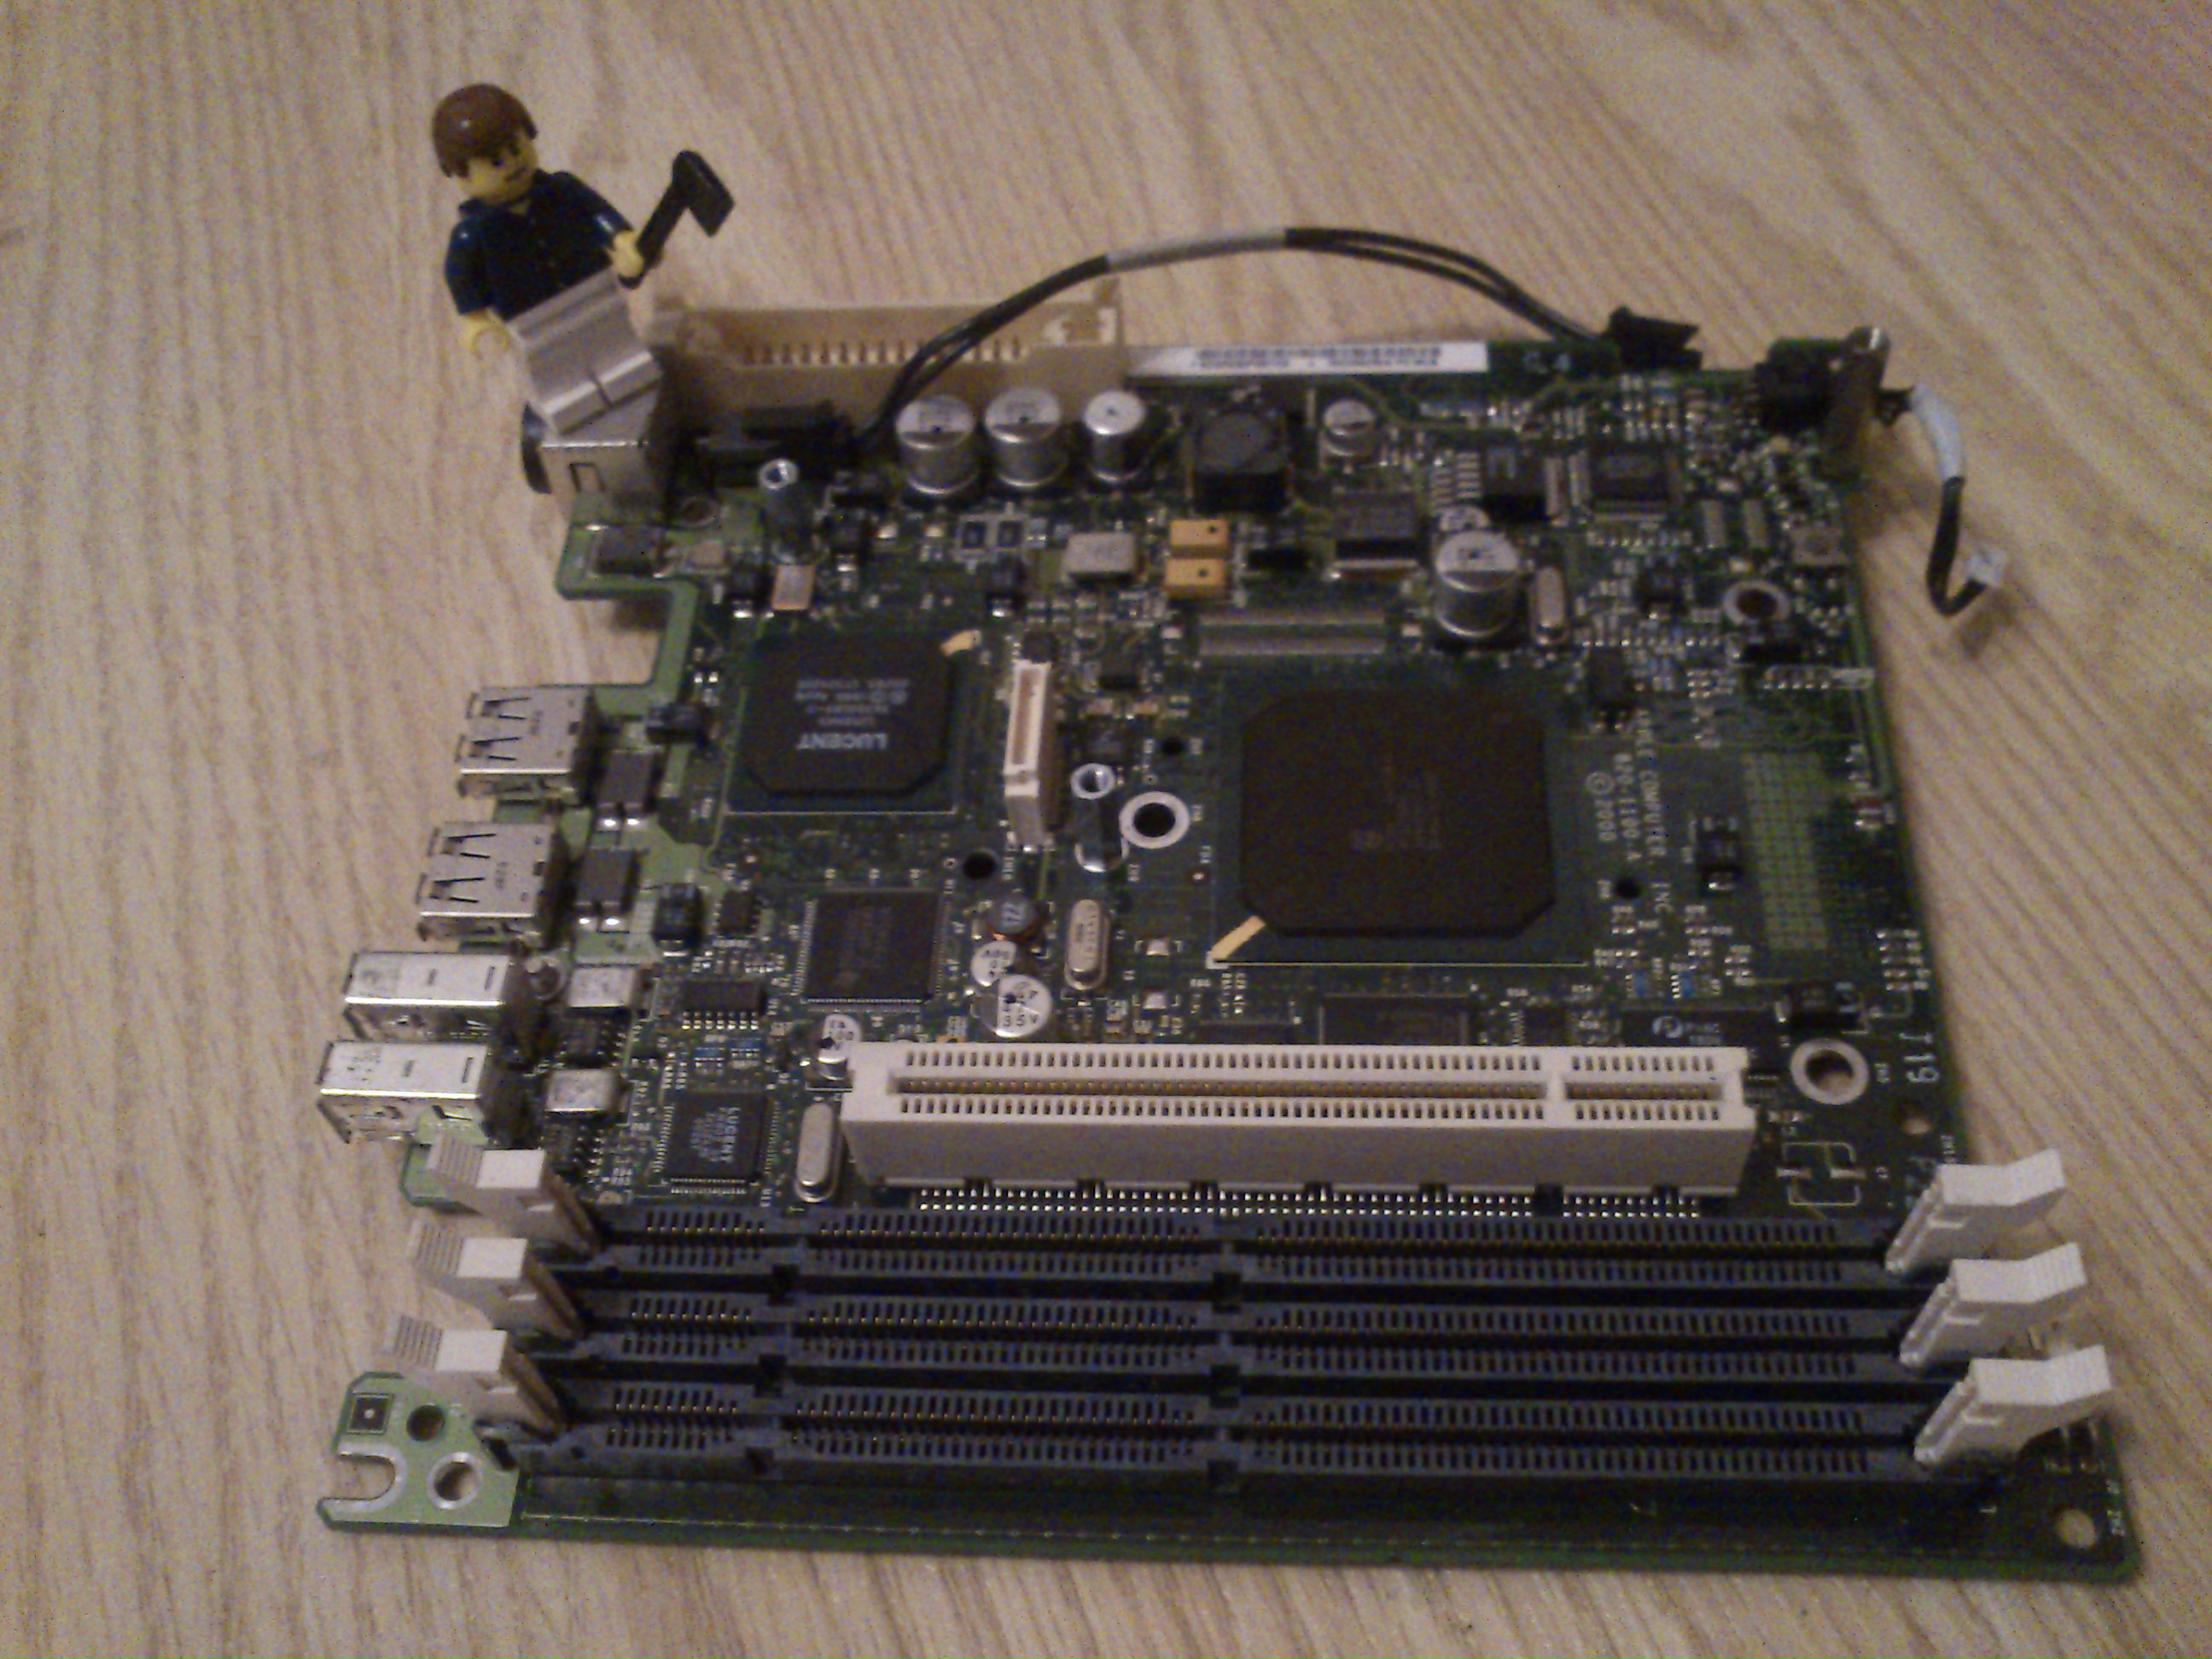
The motherboard is pretty well designed with pretty much no space to spare, a PCI slot, 3 SDRAM slots, 2 Firewire ports, 2 USB ports, PS/2 port. The motherboard plugs directly into the white connector on the CPU, in fact at first I didn’t think that they were even separable.

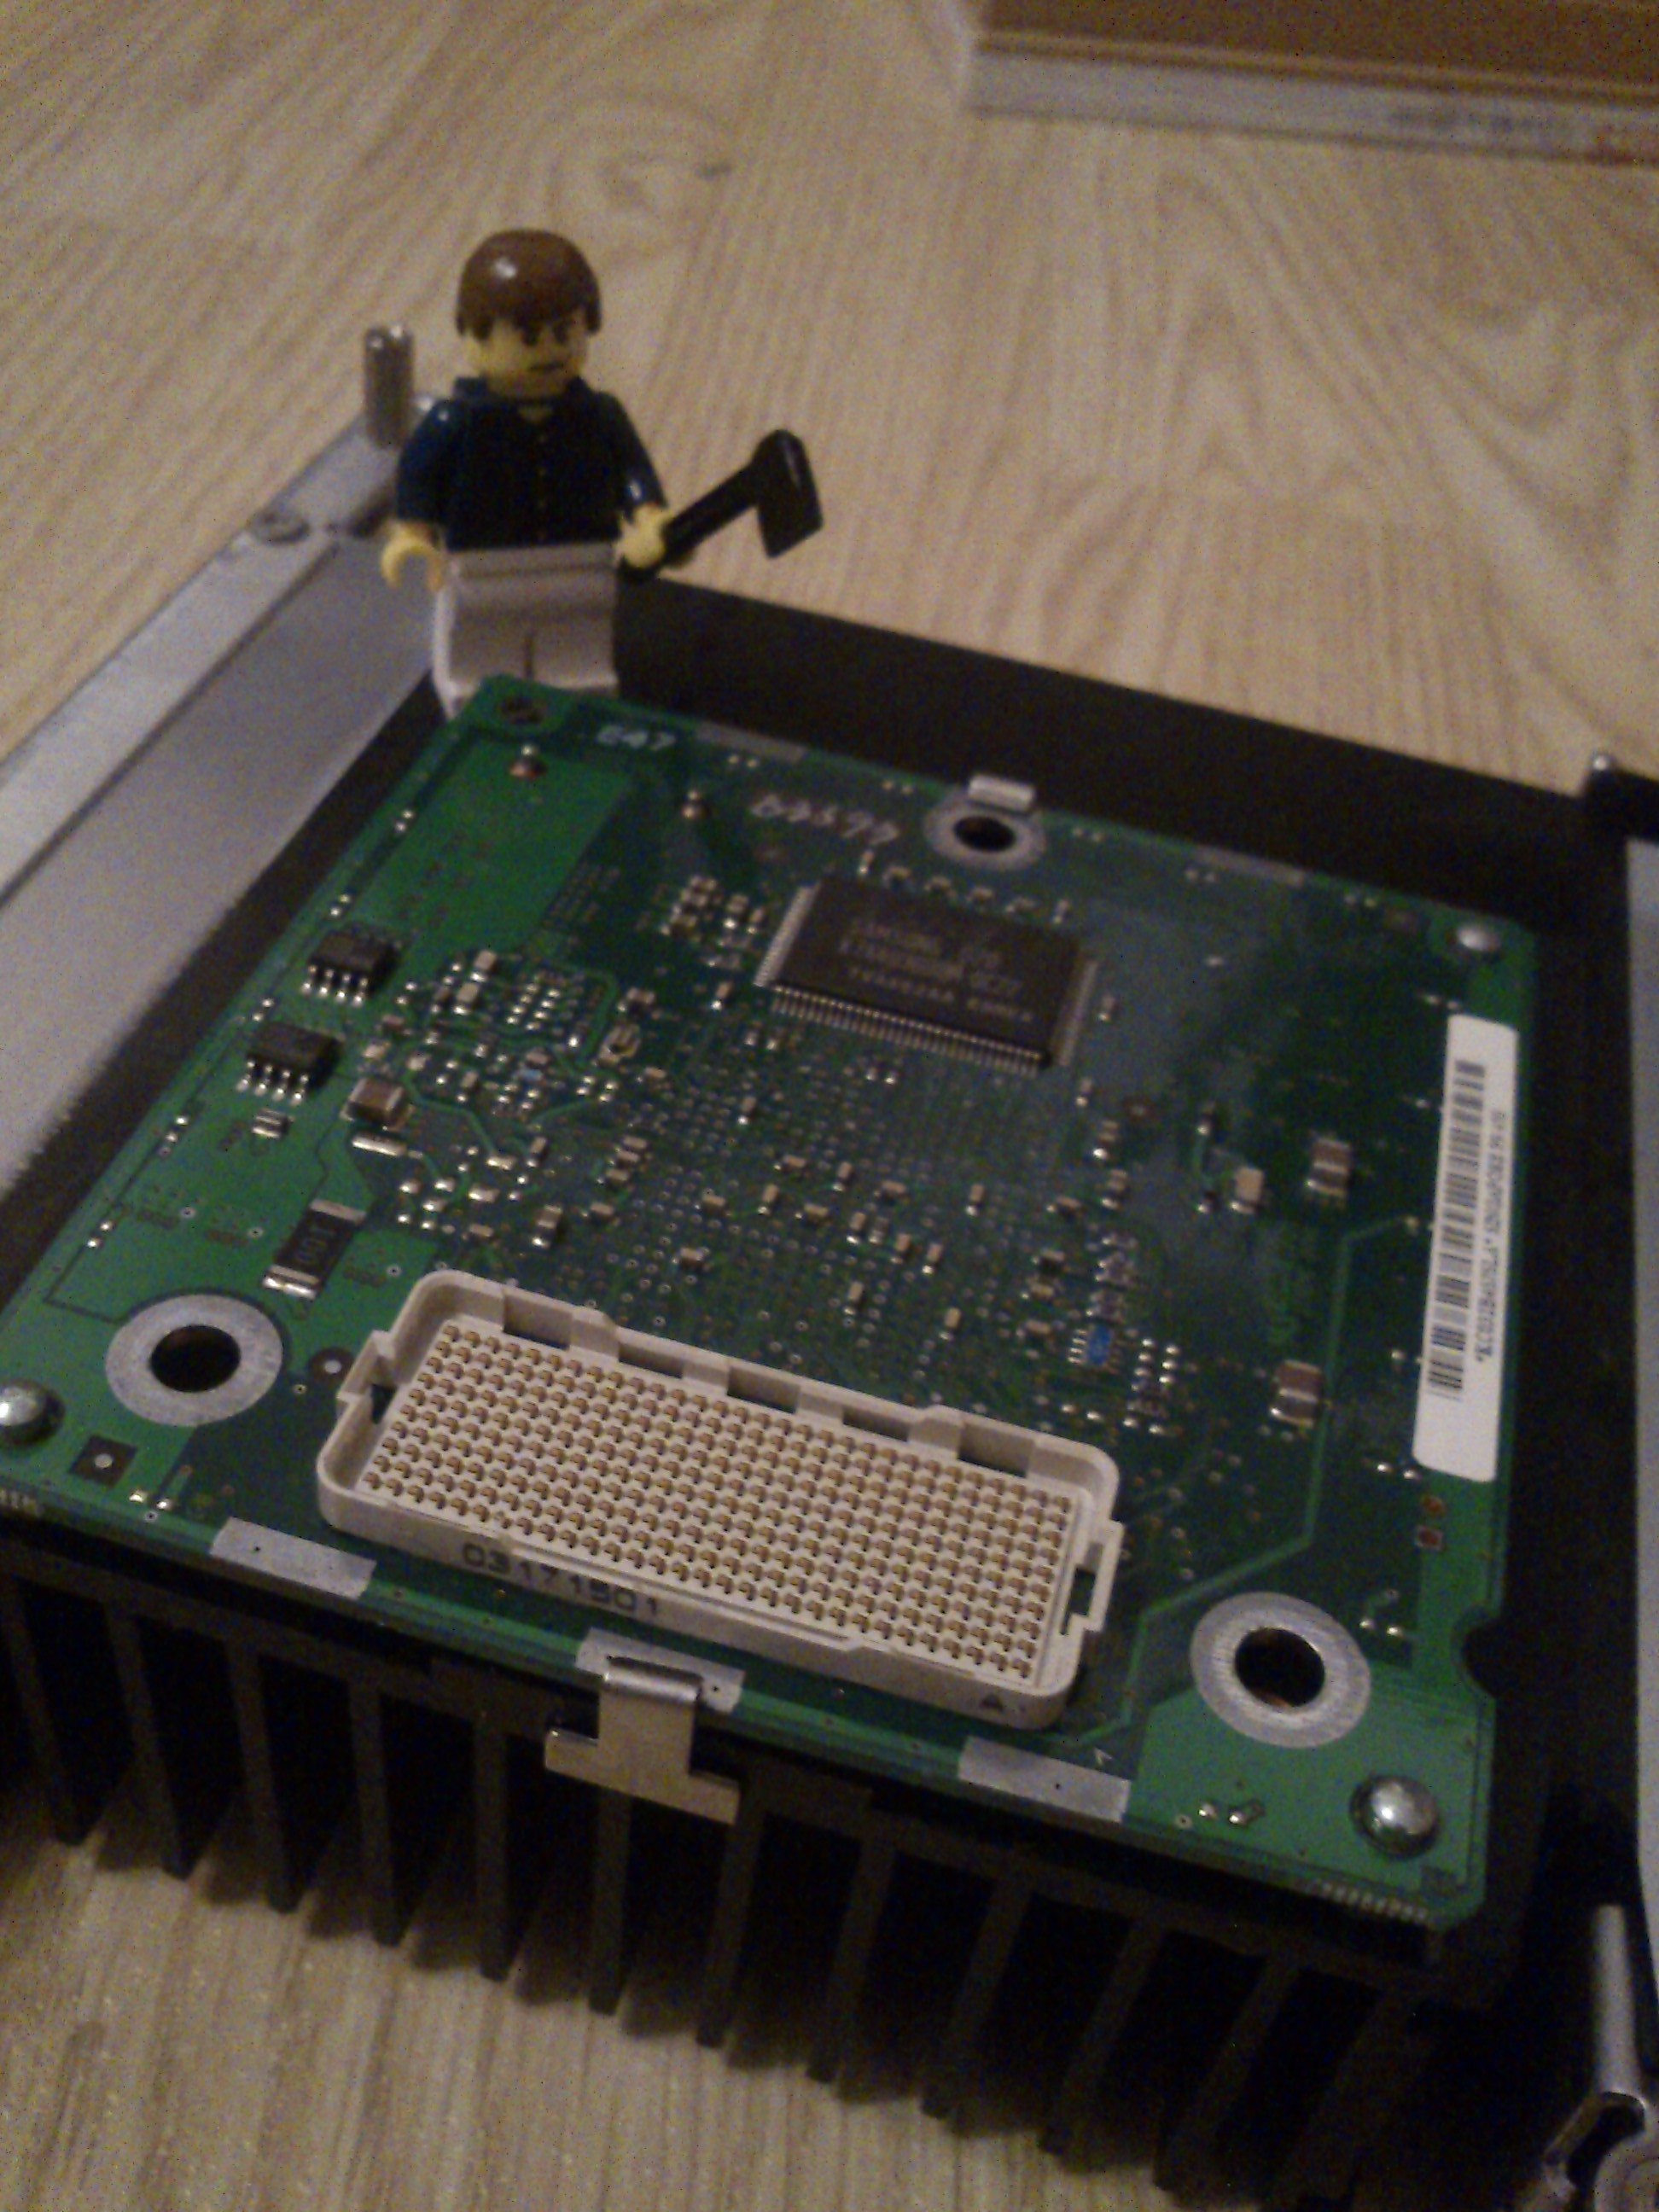
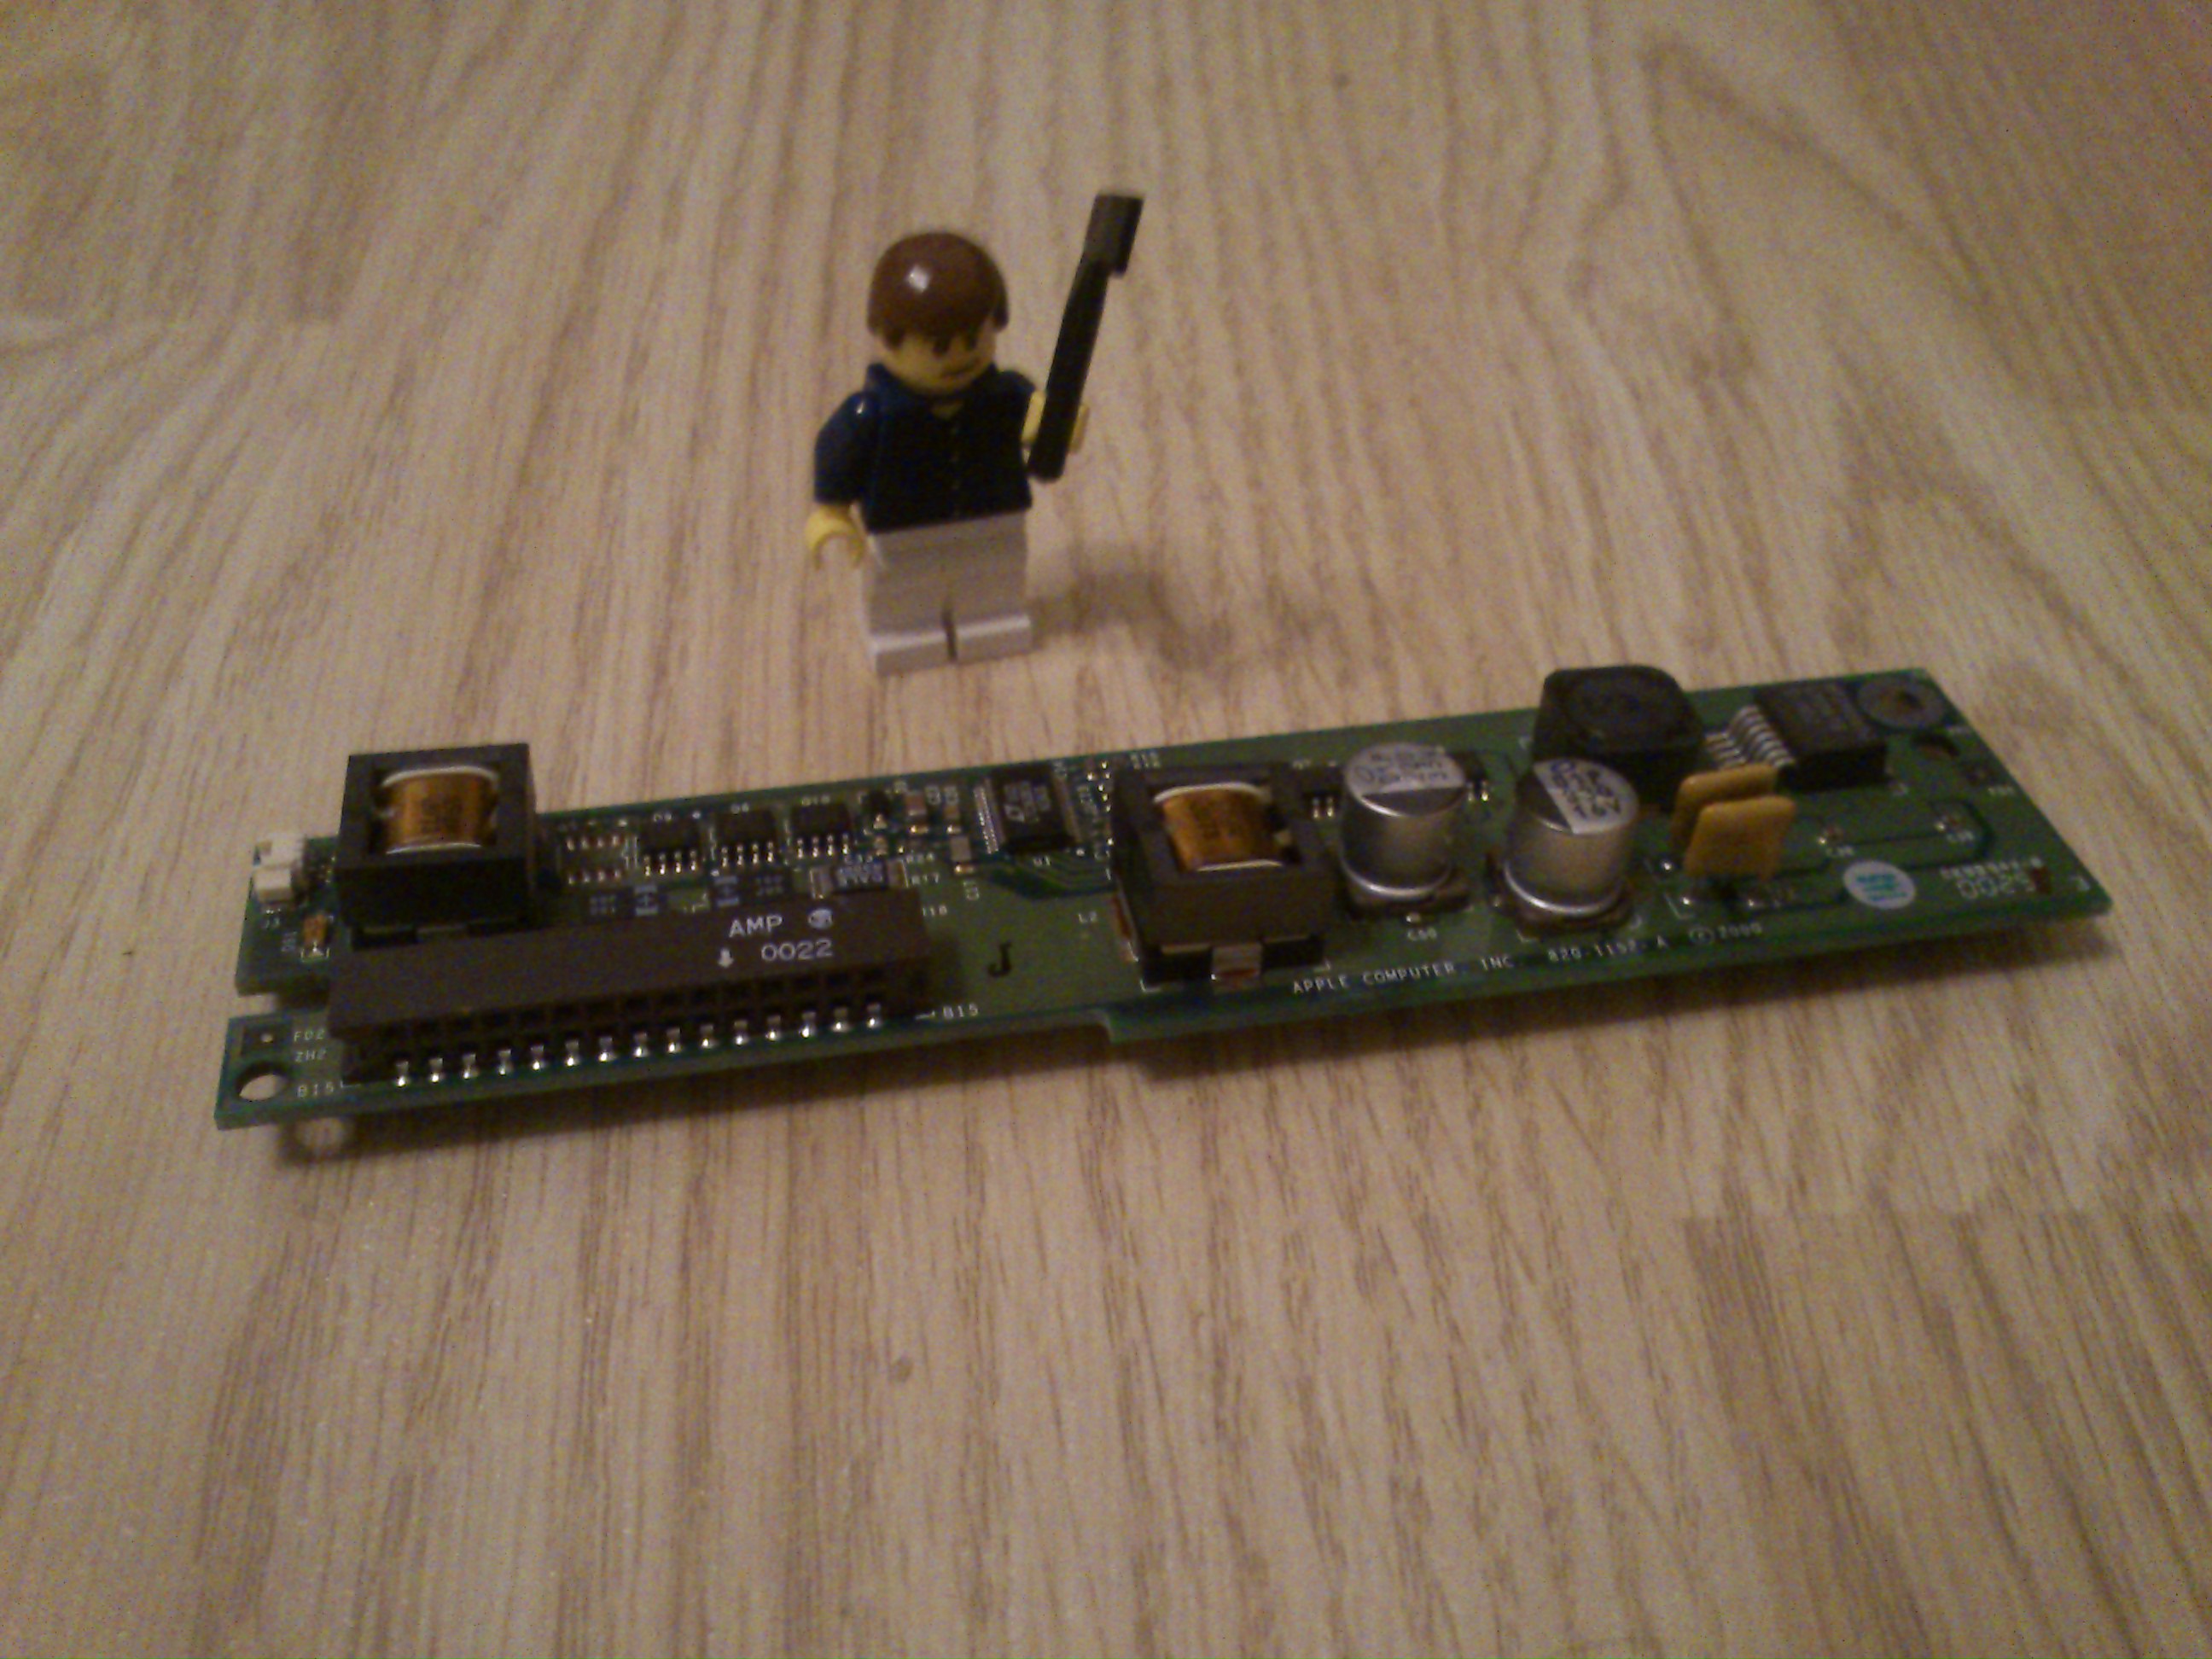
A small Ethernet card also attaches to the underside of the motherboard giving it a (for the day) pretty speedy 10Mb connection.
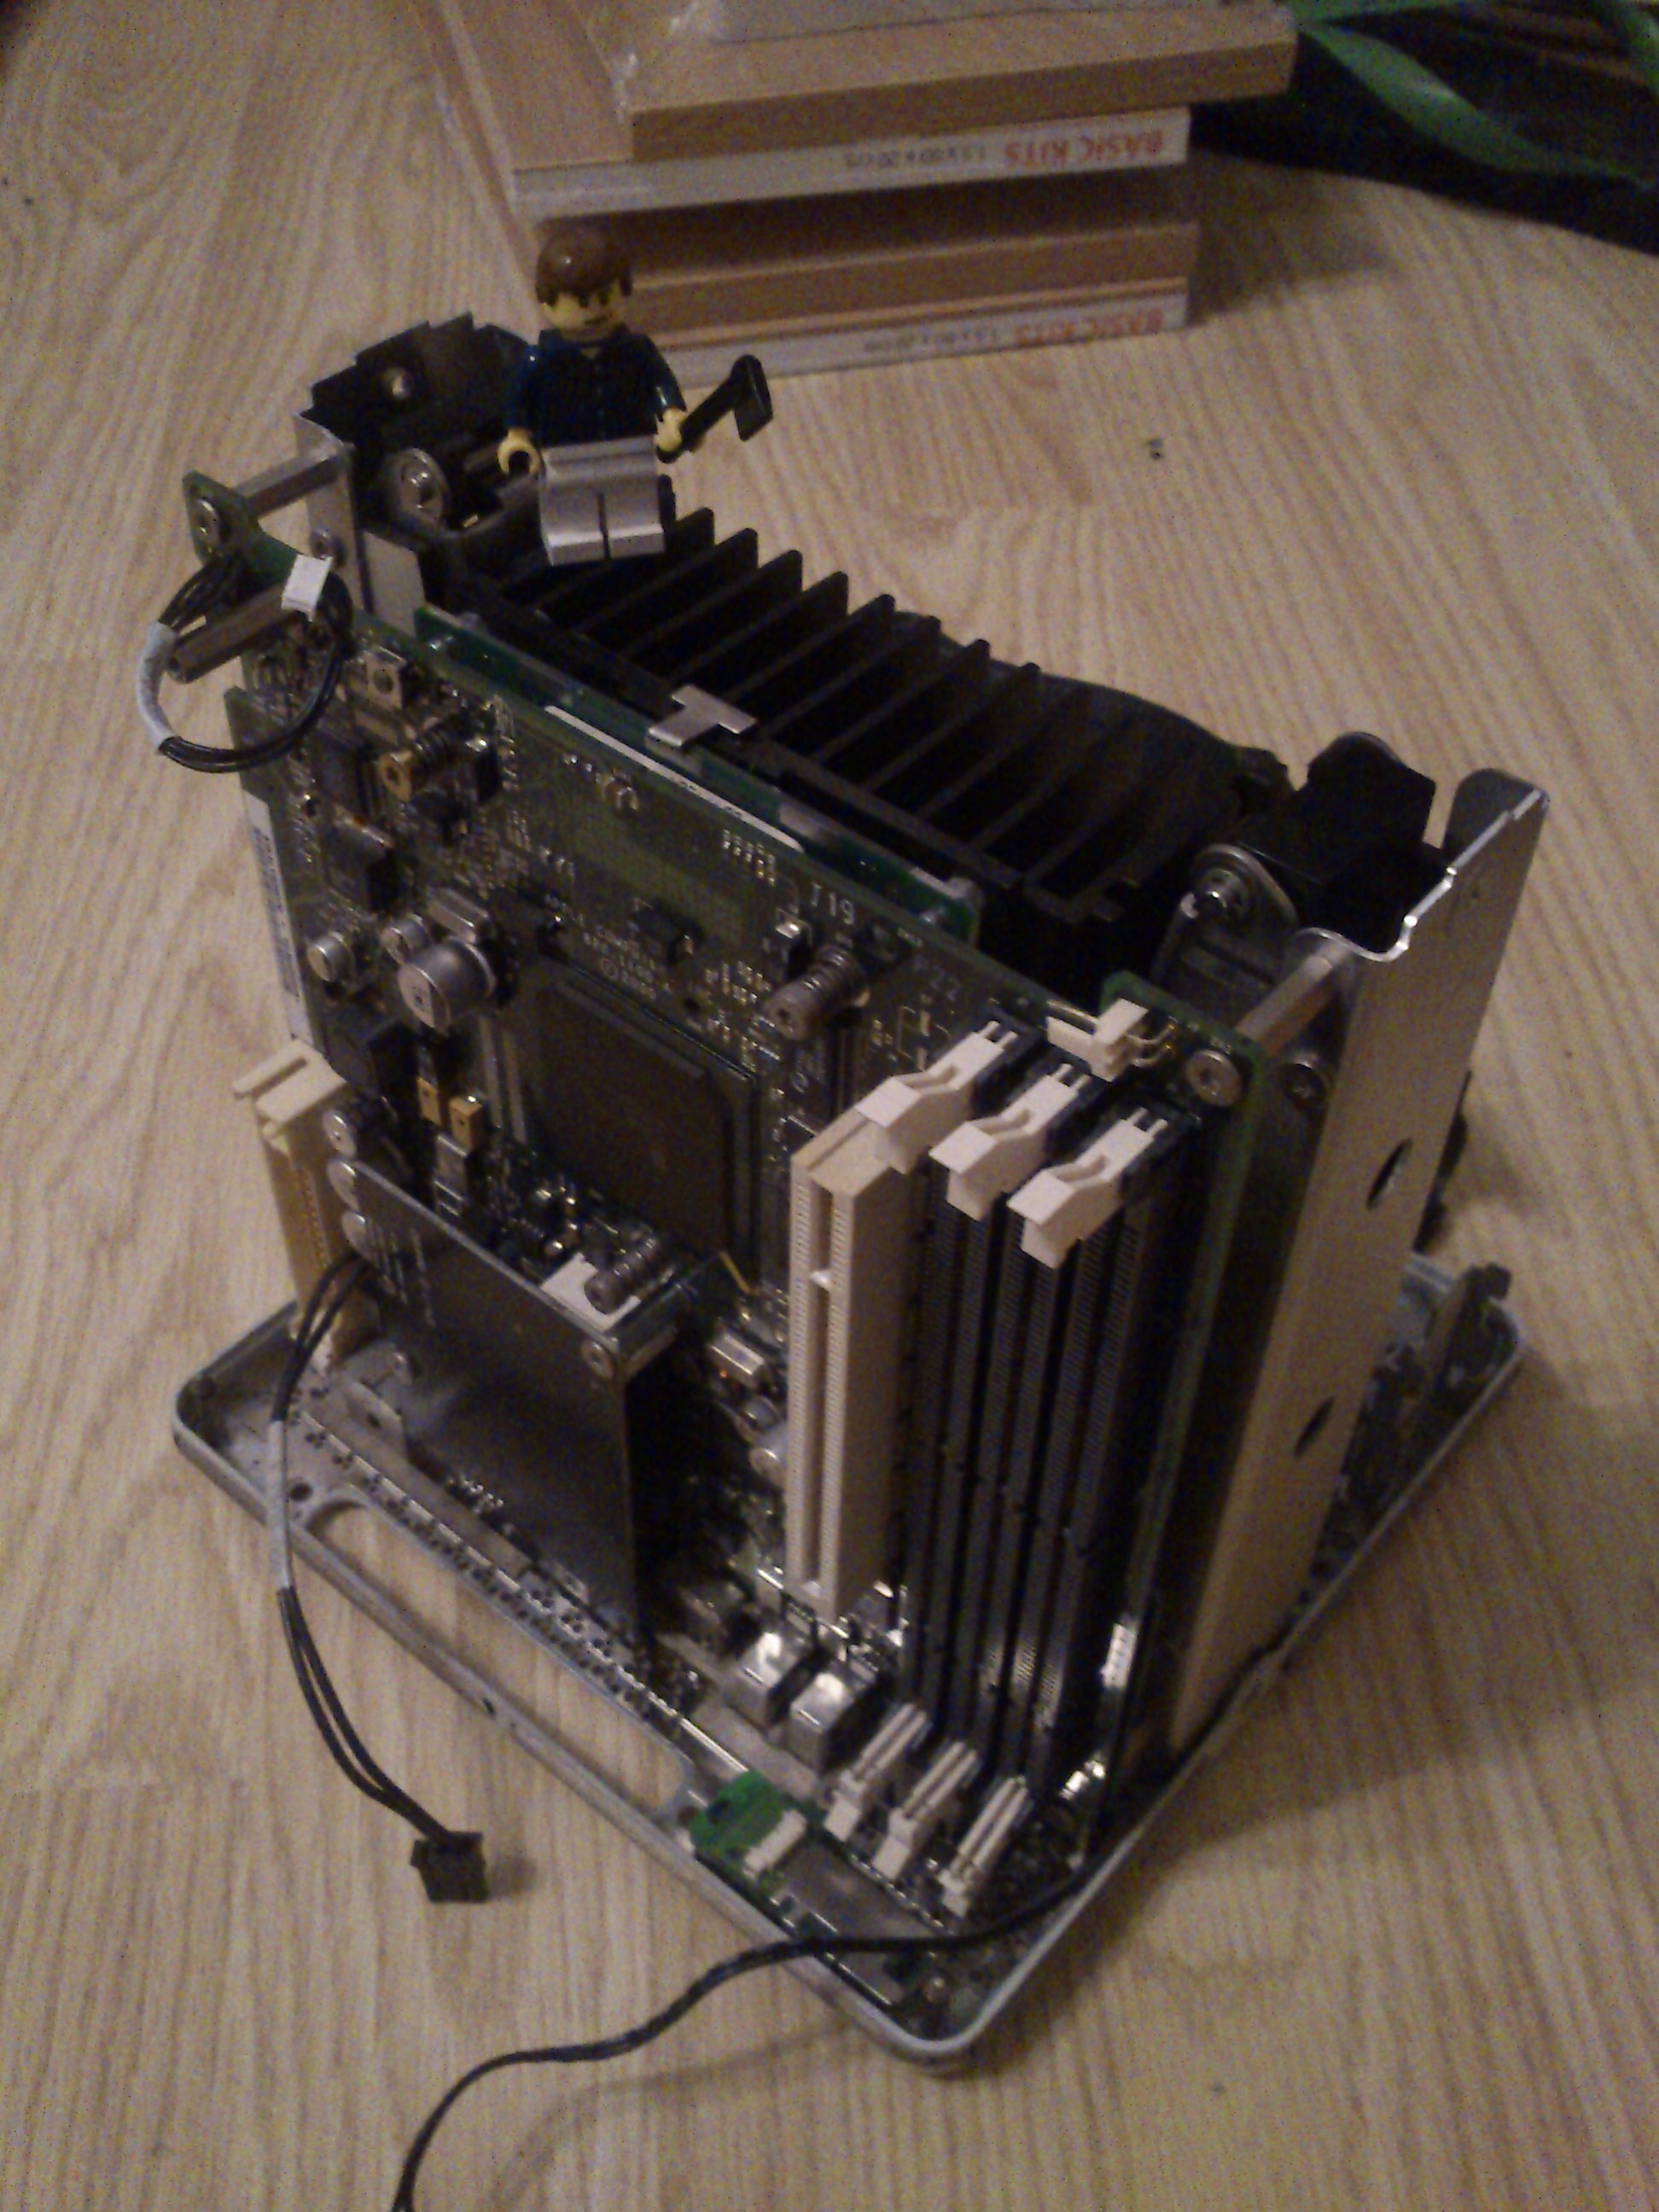
Connecting all the parts so far onto the back panel the Cube starts to take shape.
After taking apart many standard ATX power supplies I was surprised at how small this voltage regulator board was. This is probably half because most of the power is handled in an external power transformer leaving very little for this board to do.
The voltage regulator board plugs straight into the motherboard with a little fiddling (the back panel interferes slightly). In this picture I’ve also connected the hard drive and the slim form CD drive to the bottom of the cube however these were fairly standard parts and I didn’t think they warranted too much discussion here.
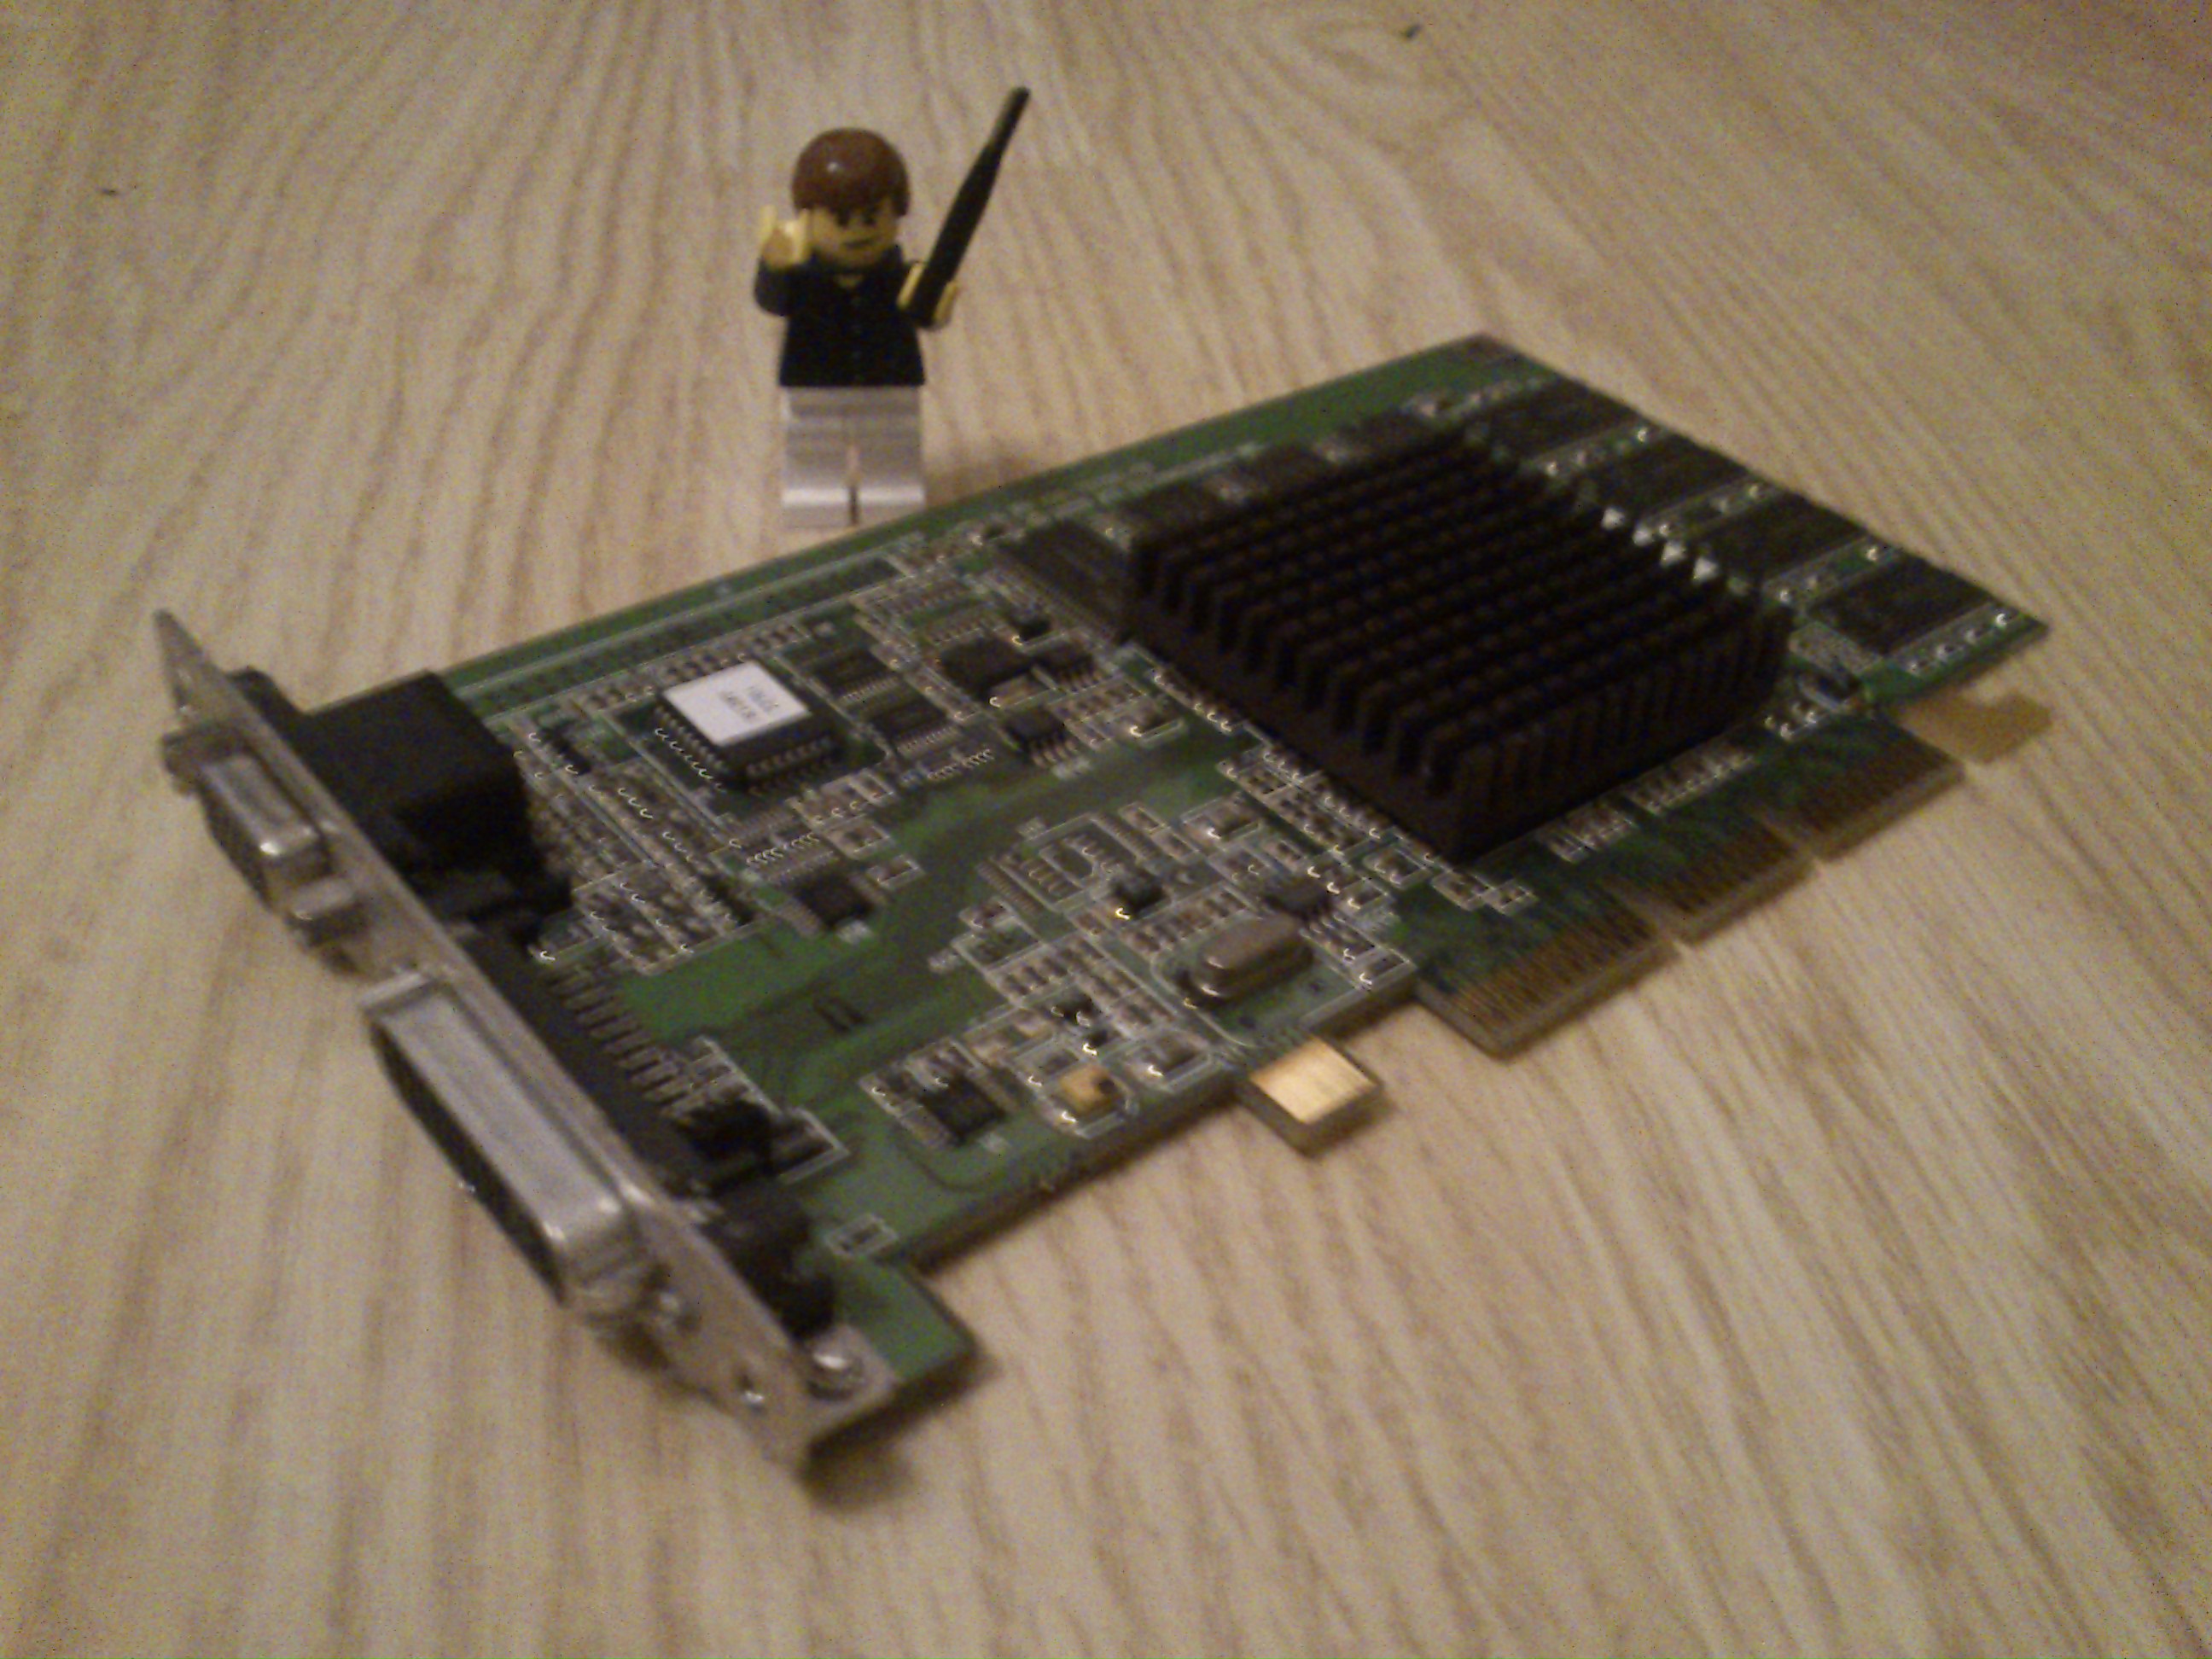
The AGP graphics card is an ATI Rage Pro with a whole 16MB of SDRAM, a VGA port and an Apple Display Connector. She may not look like much but she’ll run glxgears at 250FPS.
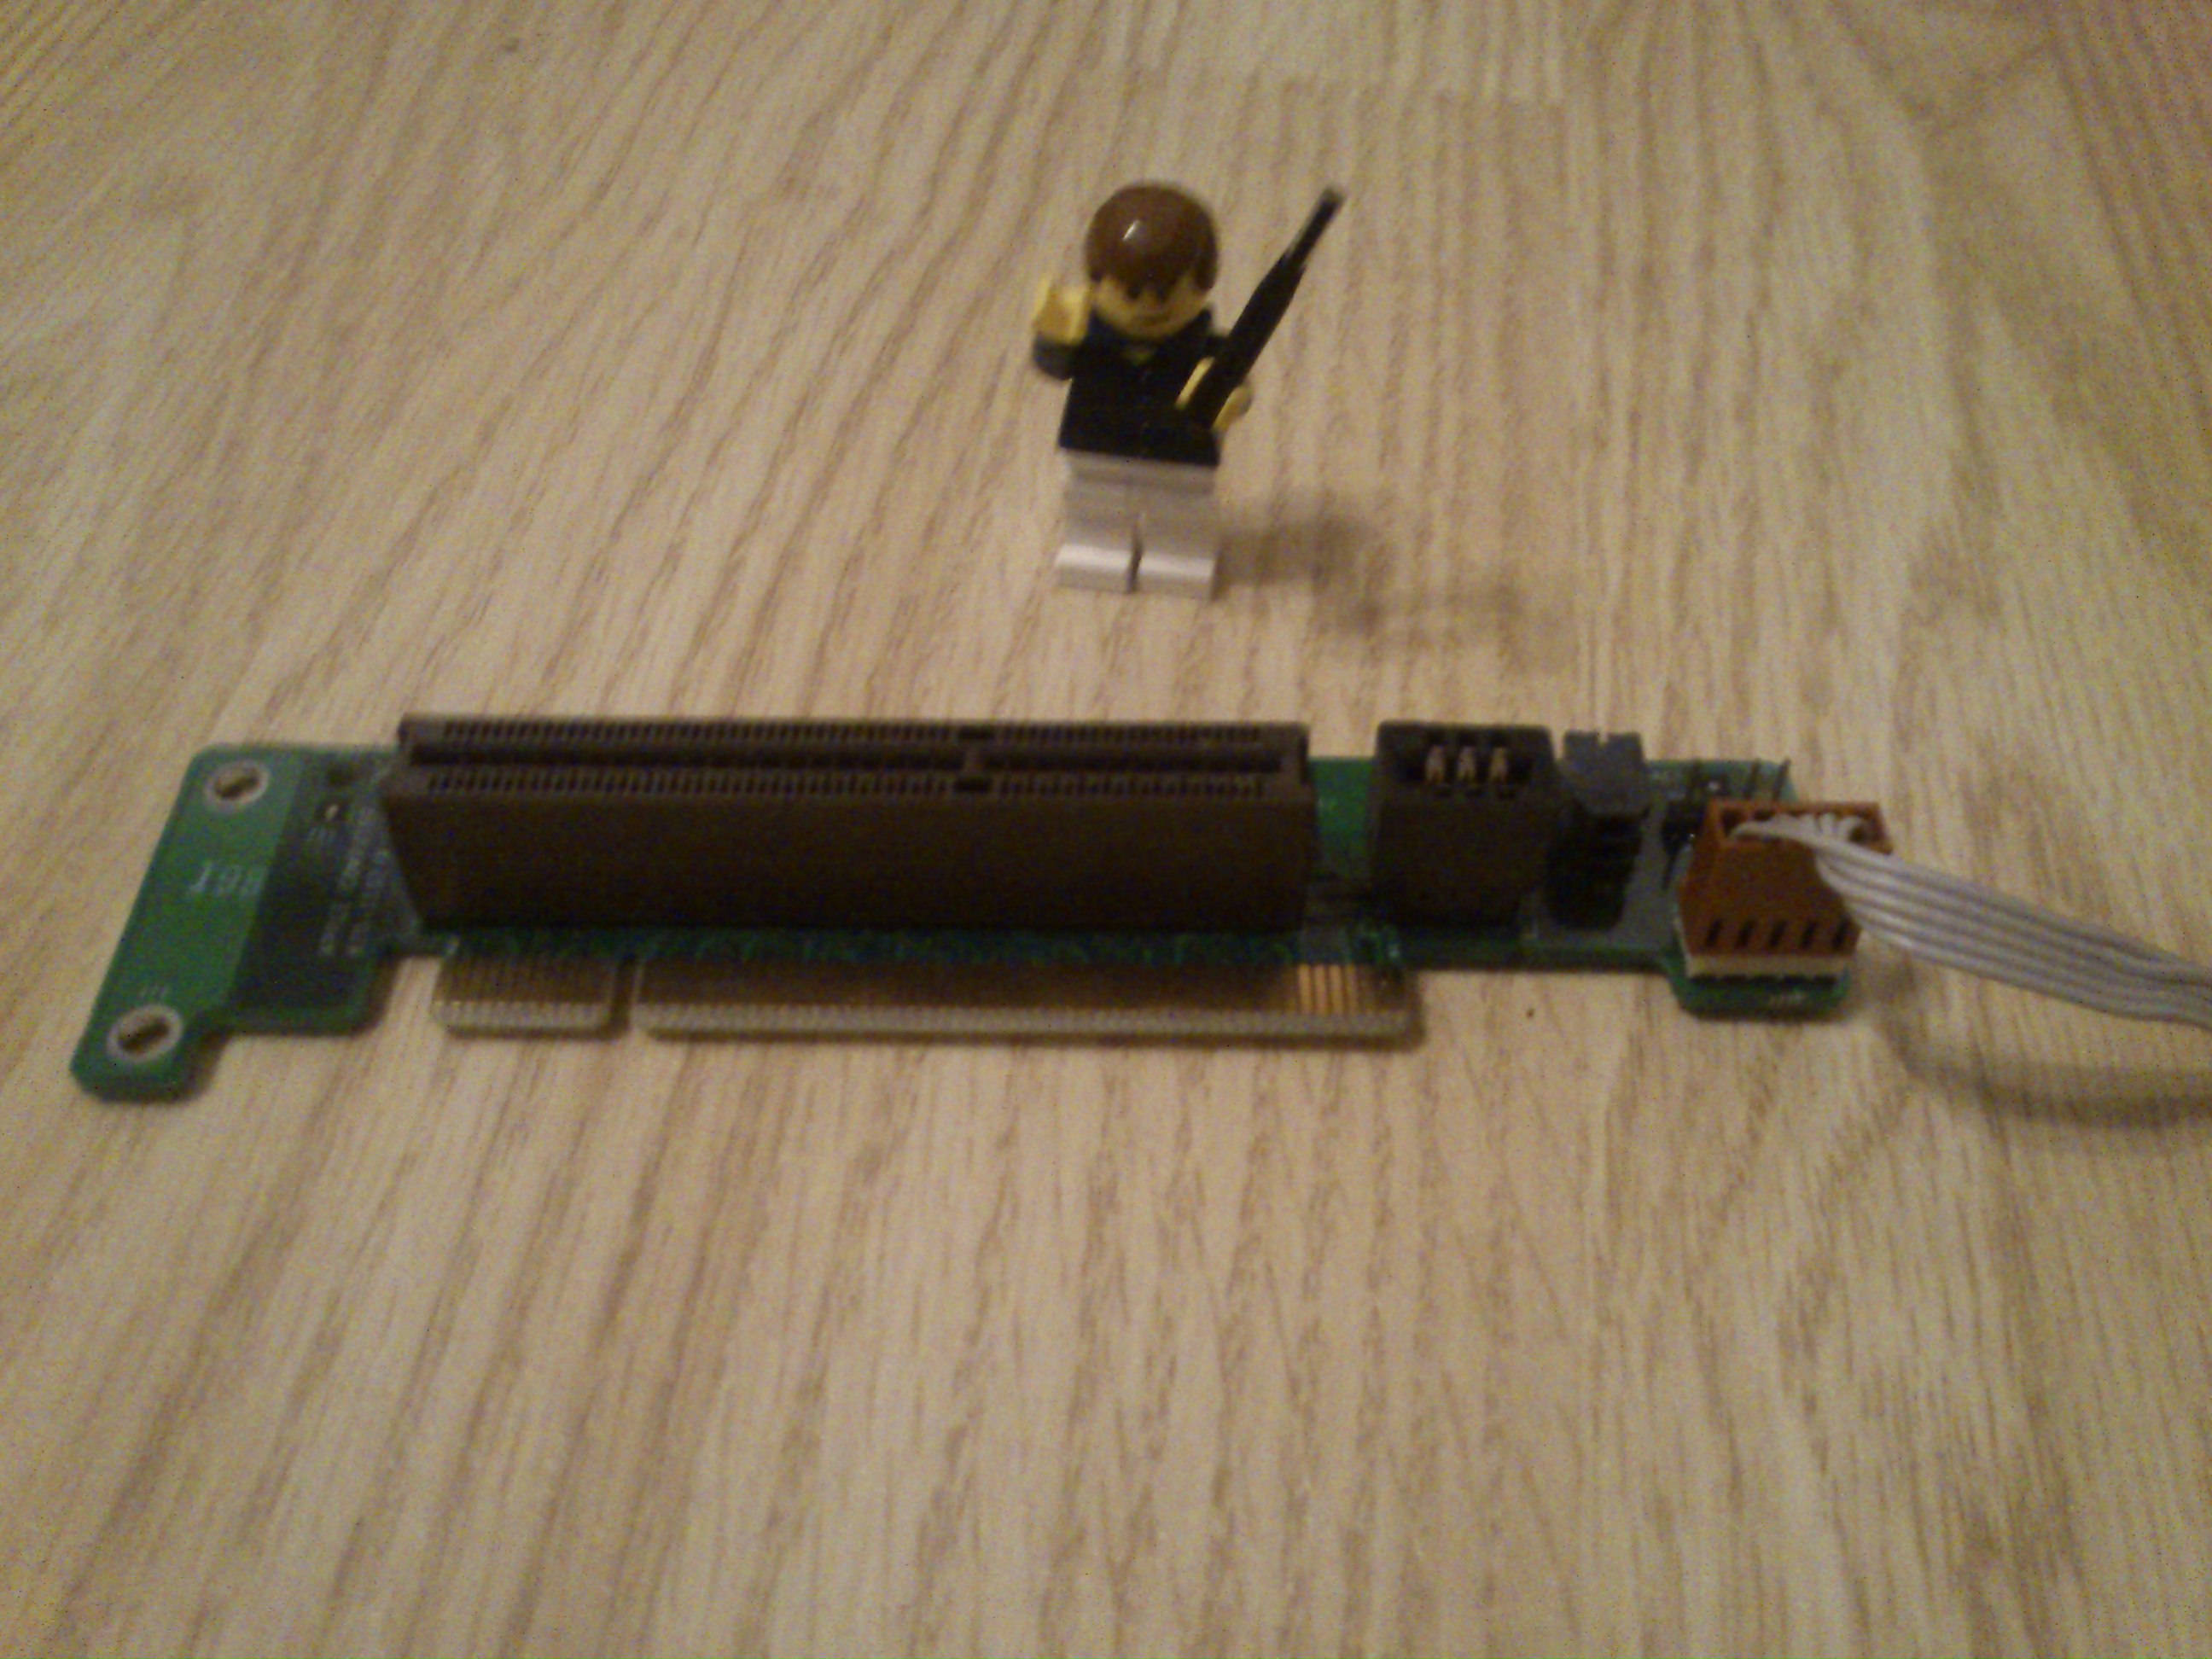
To connect the AGP graphics card to the PCI motherboard this nifty adapter was used (also taking care of turning 90°), unfortunately sources say that this won’t work on other computers (and here I was wanting to get a last bit of use out of my old AGP card!).

Attaching the graphics card via adapter and we’ve got the final piece in place before putting the casing back on.

Putting the aluminium casing back on an the cube is operational again. I didn’t take any photos but this whole construction slides into the perspex container and locks in place, it’s not all that interesting.
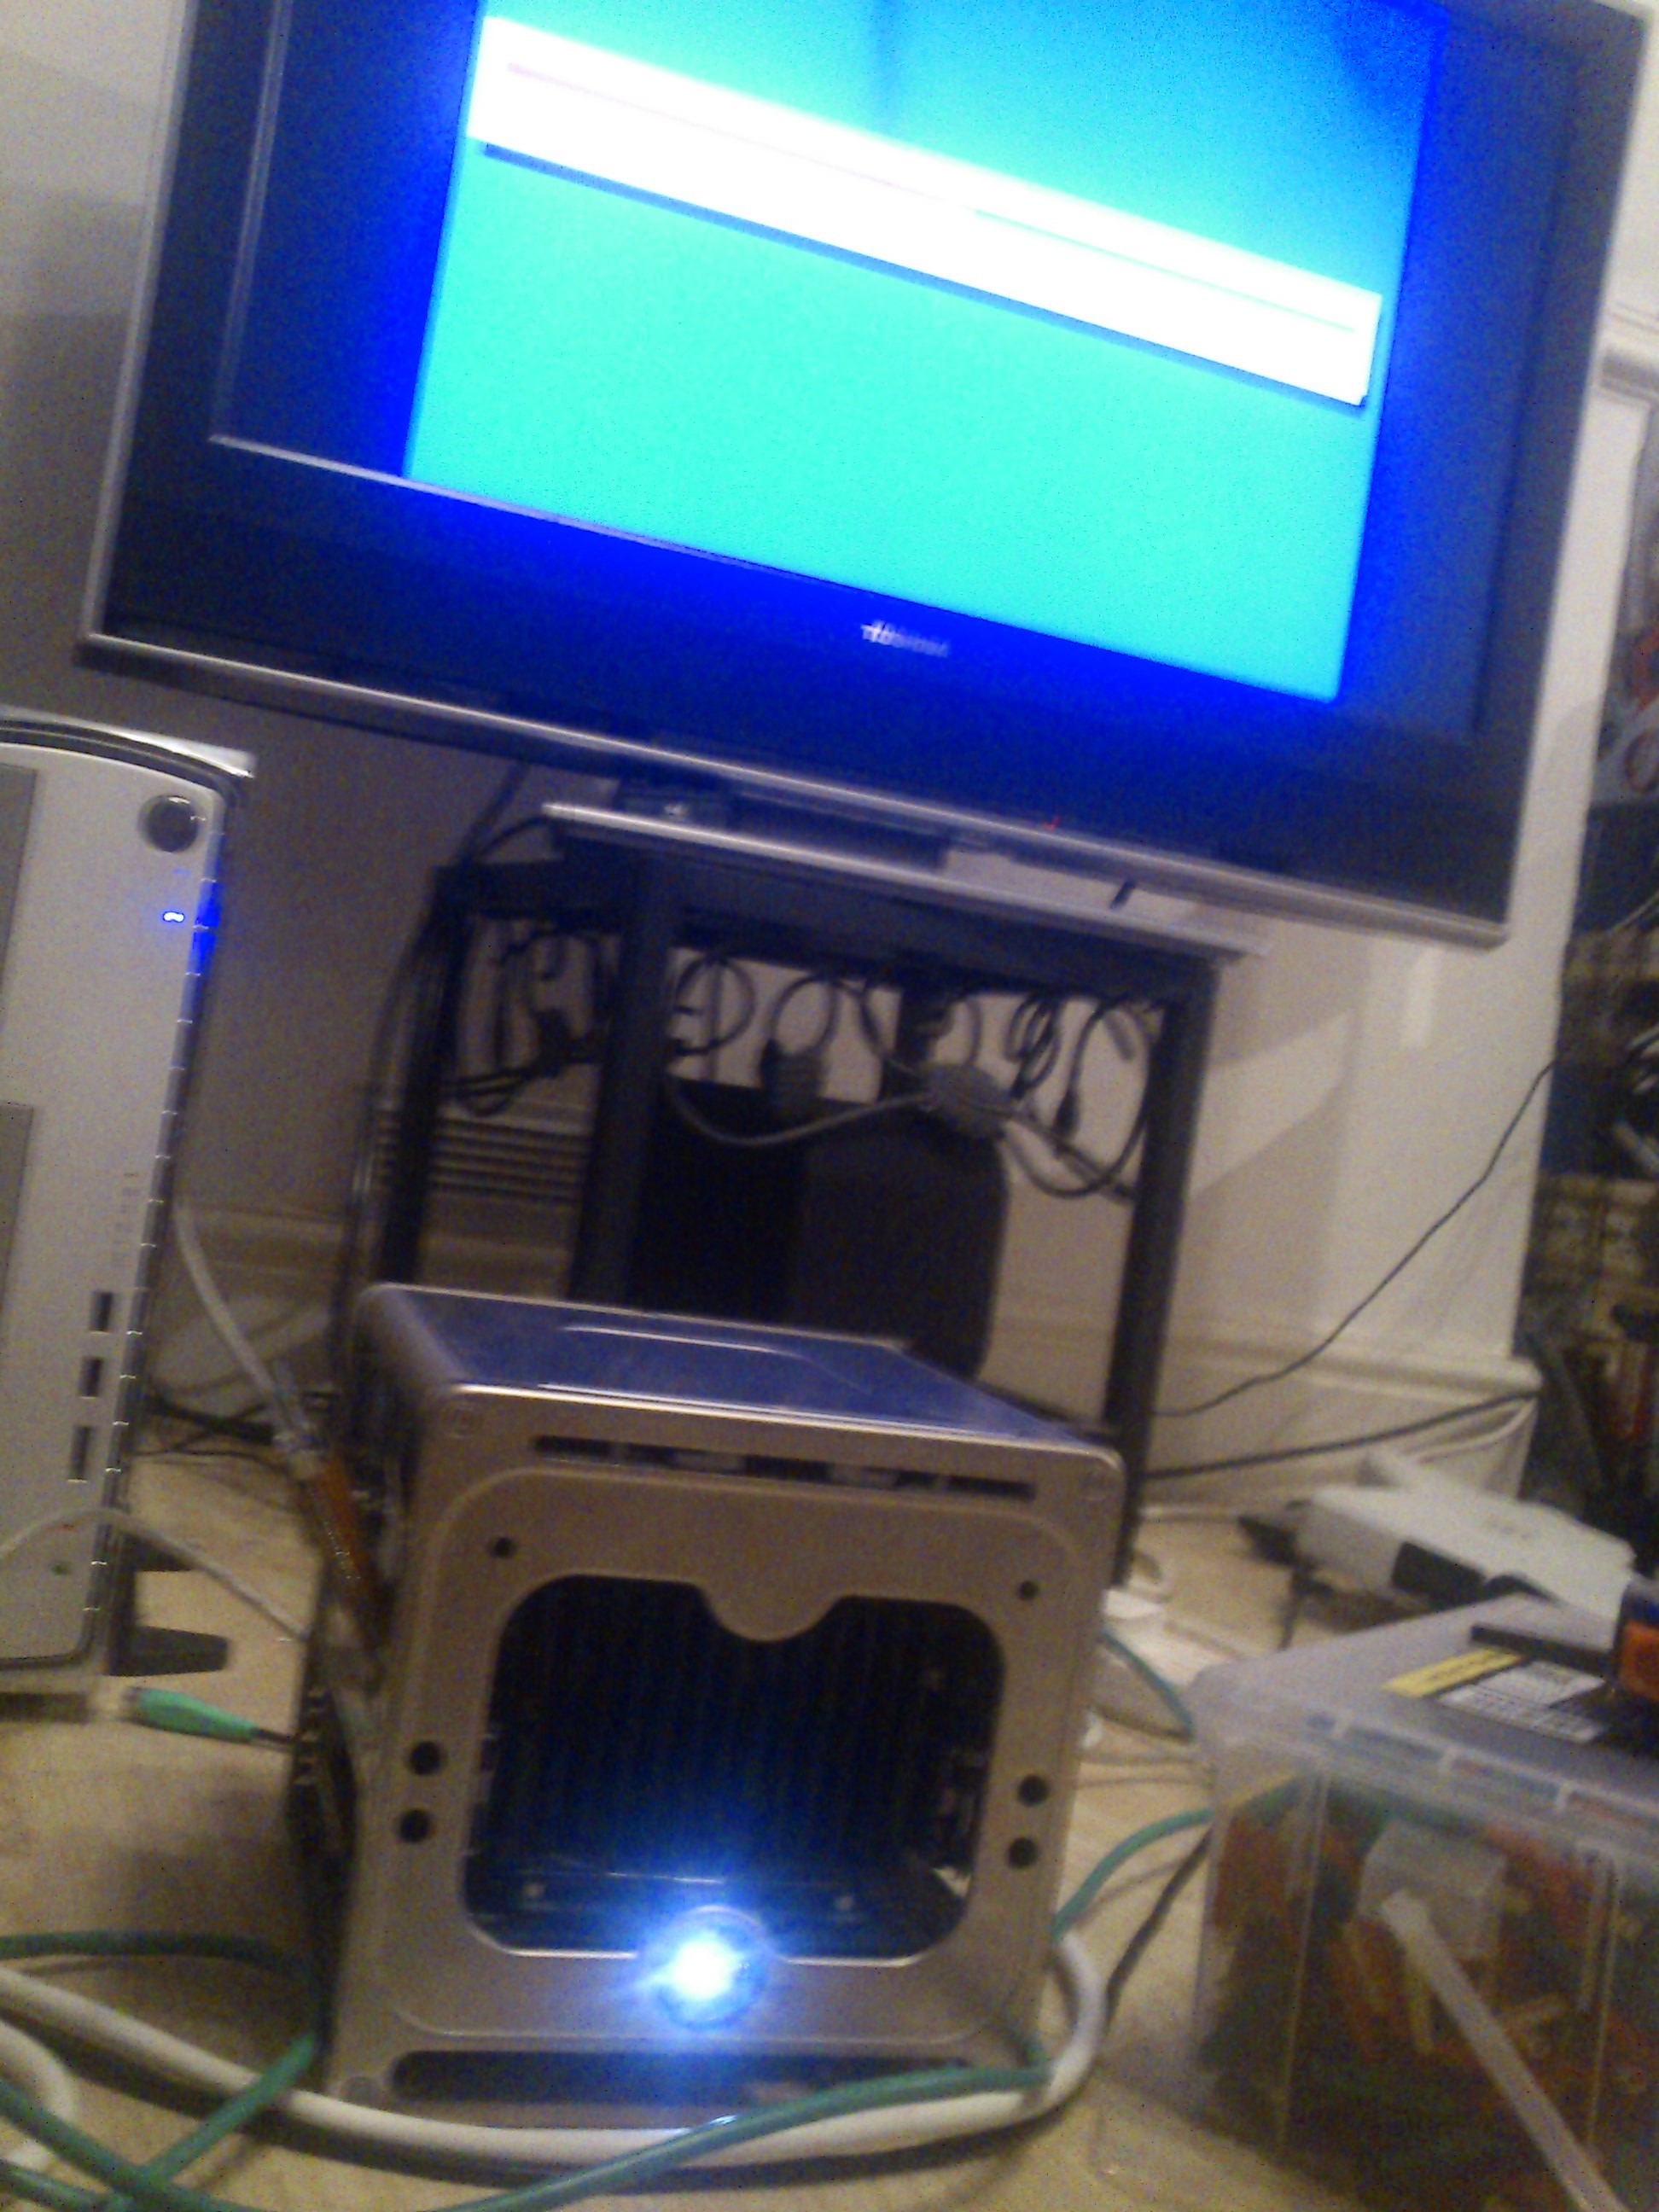
I left the Cube out of its case and on the floor installing Debian. Unfortunately the Cube came before USB booting was used much so I needed to write a CD in order to install Debian, this proved a bit of an issue since none of my computers actually had a CD writer connected at the time.
Installing Debian was also rather interesting, for some reason when it installed yaboot (a bootloader for powerpc) it failed to configure it properly meaning I needed to go in with the rescue console and sort out where it was pointing. When I got it trying to boot the correct partition yaboot threw an input/output error accessing the vmlinux and initrd files which were in /boot/. For some reason I have yet to fathom if I copied the contents of /boot to /toot and then changed yaboot’s config to point there it worked fine, I was quite lucky to find this fix deep in a mailing list since I was pretty stumped at this point.
Now Debian is up and running it works pretty smoothly with awesome, unfortunately Chromium is not available for the powerpc architecture at the moment so I’m using Midori instead (Firefox was way too intensive), it even runs Flash and can almost cope with YouTube (audio is full speed, video skips a lot of frames).
In comparison with a Raspberry Pi (mine should be in the post soon hopefully) the G4 cube only has a 500MHz processor (where the raspi has 700MHz) but it makes up for it with a colossal 1.5GB of RAM with all it’s slots full (about 6 times what the raspi has).
I am very tempted to mod my own computer into this, because you always need more computers! The perspex casing is pretty heavy so I’d probably try to make something that didn’t use that and used the nifty handle (which I failed to take any pictures of) for portability, I imagine the casing would find other uses (LED cubes come to mind).