GIMPing around
It may seem like cheating a bit to pretty much copy/paste a tutorial I wrote for another site on a wave thing I made using GIMP (google people, don’t be too scared of the results), although the end result isn’t as good as I missed out several of the tweaks I did.
Anyhow, have a shot, just for sniggles and gits
Note that this is a tutorial for GIMP so you may have trouble following it with Photoshop or any other image editor. And images that are too small to read you can right click and view image for a larger version. Anyhow, here you go:
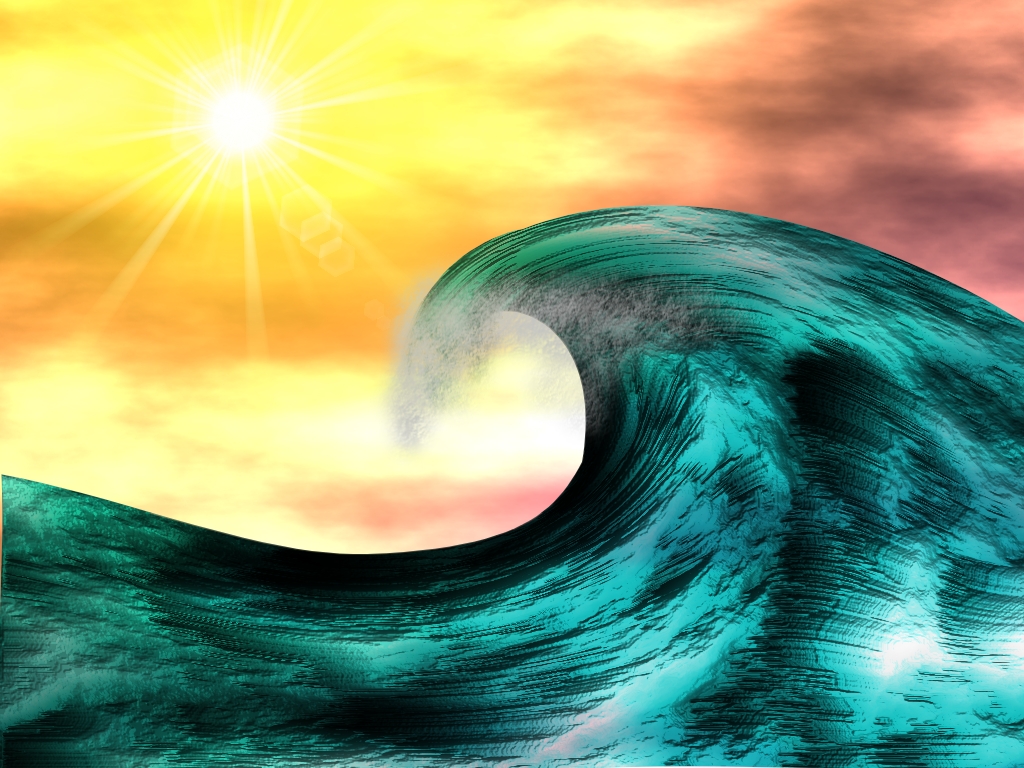
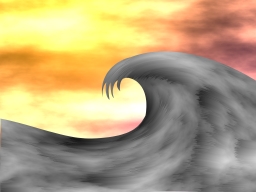
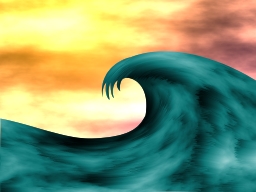
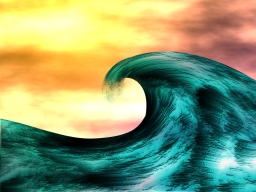
I followed this tutorial for a while, but changed several things to get this:
However I have forgotten how I made that and annoyingly the product I got while making this tutorial doesn’t look anything like so good but it should be possible to make it look not too bad with a few adjustments.
Hope you enjoy it.
Note I used a 1024x768 canvas but I have scaled the images down.
Sky:
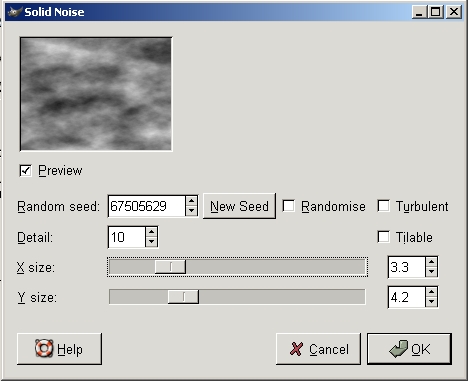
First use Filters>Render>Solid Noise…:
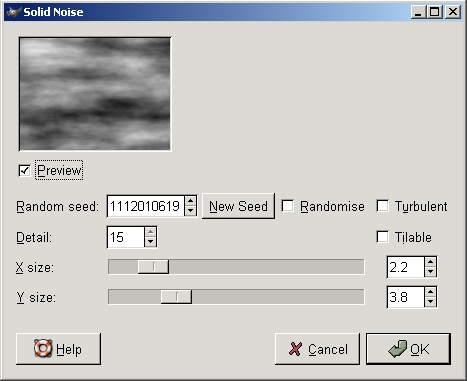
You may want to then adjust the contrast a bit, depending on what your image is looking like, here is what I used:
Then use Filters>Light Effects>Lighting Effects…
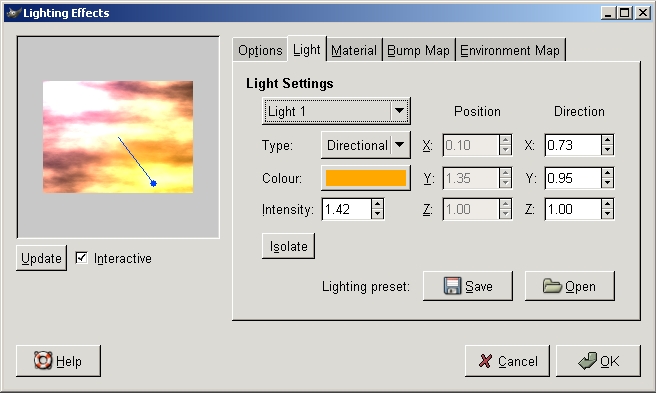
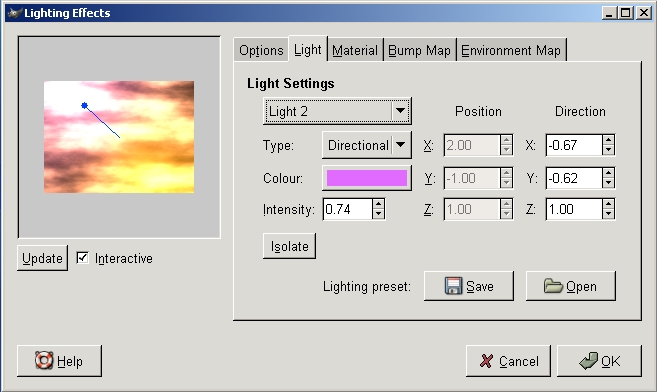
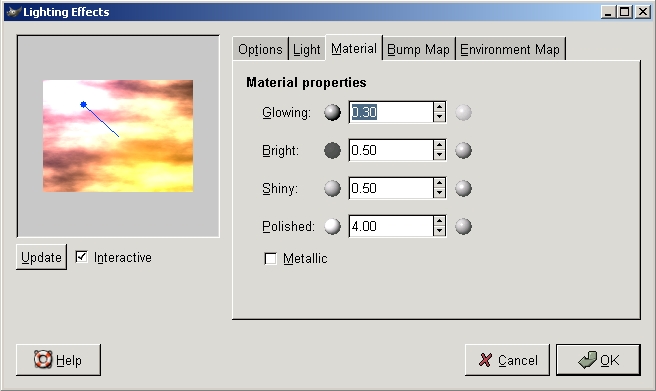
(all options not shown are at their default values)
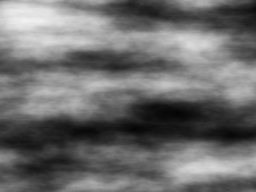
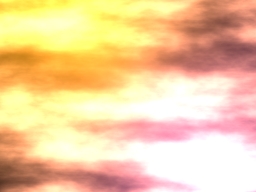
Giving something like this:
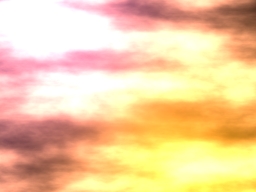
Because of the way the clouds rendered mine is upside down so I reflected it both ways to get it where I wanted:
Wave:
Make a new layer on top of that one and use Filters>Render:Solid Noise… again:
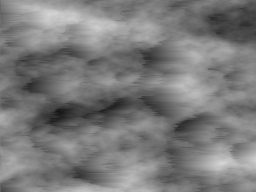
Then Filters>Distorts>Wind…:
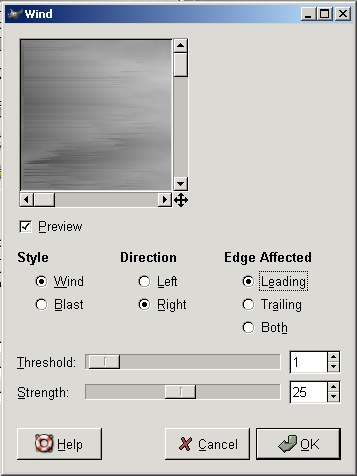
Giving this:
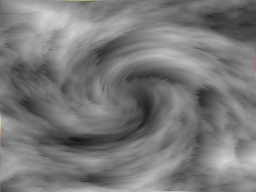
Twirl it using Filters>Distorts>Whirl and Pinch…
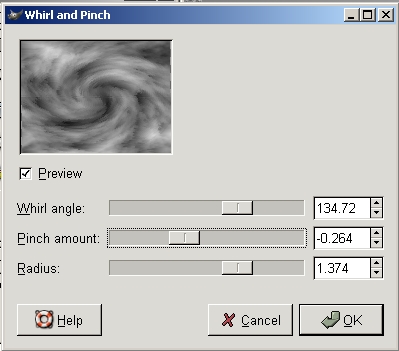
You should get something that looks vaugely like a wave:
Use Paths or the lasso tool and clear a wave shape:
At this point duplicate the layer.
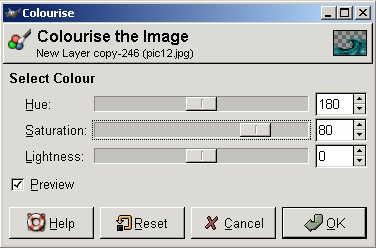
Using the top layer colourise the image (Layer>Colours>Colourise…):
Then you are ready to use Filters>Light Effects>Lighting Effects… again, make sure you enable bump mapping and that it bump maps with the current layer:

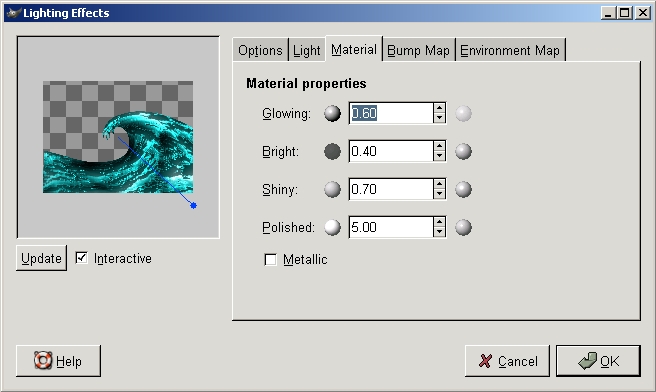
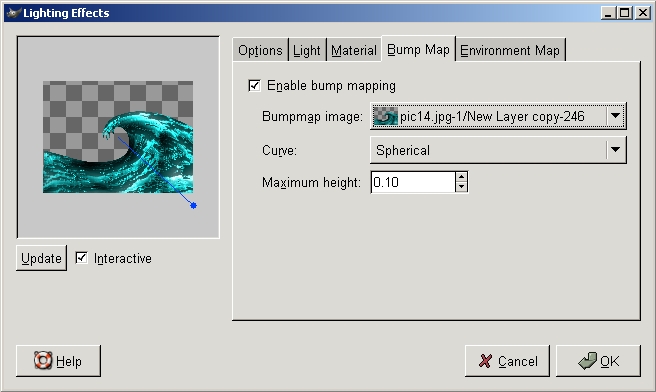
Your wave should look nice and shiny:
Copy the Background layer (the sky) and place it between the coloured wave andthe grey one, then set the Mode of each layer like below:
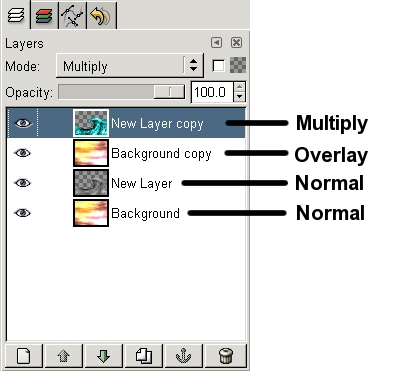
Right click on the top sky layer (the one set to Overlay) and click Merge Down:
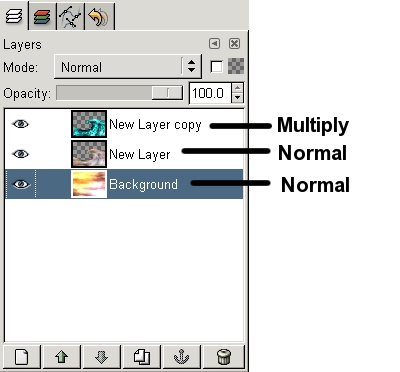
Then Merge the top layer down (so you only have one Wave layer)
Use the Eraser on the tip of the wave with some grunge brush, you may want to smudge it a little too:
Then create a New layer and use a grunge brush to paint some spray on the crest of the wave (I found that a reasonably light grey worked better than white):
Sun:
You’ll probably want to get this in the right position for the lighting of your wave, thats why we’ve left it ‘til last, anyway use Filters>Light Effects>GFlare… to get a good sun:
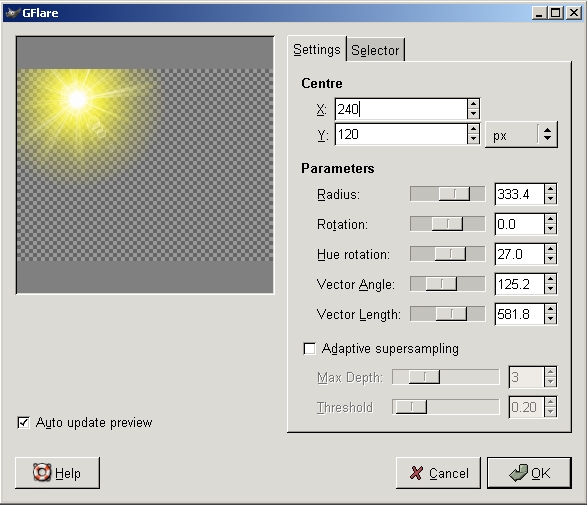
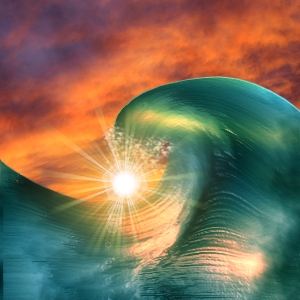
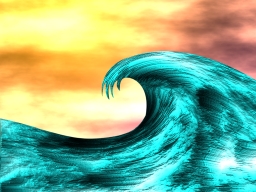
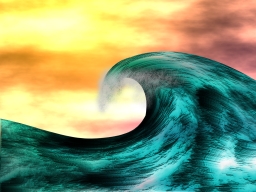
You’re done and with any luck you should have something looking considerably better than this: